Installing System Center Virtual Machine Manager 2012 R2 a Standalone Server in Windows Server 2012 R2 Step by Step Guide
Thanks to: http://www.msserverpro.com/


Virtual Machine Manager(VMM) is a component of System Center 2012 R2 that manages solution for the virtualized data center, enabling you to create and deploy virtual machines and services to private clouds by configuring and managing your virtualization hosts, networking and storage resources. In System Center 2012 R2, a VMM Server can support up to 1,000 hosts and 25,000 virtual machines. This is my first article on VMM server so I start from the Installation. In our lab, you will install VMM Management Server and SQL Server Database on different computers. The VMM architecture and lab details are given below.

Lab environment:
Computer Name: KTM-DC1-2K12.msserverpro.com
Server Roles: Domain Controller and DNS Server
Operating System: Windows Server 2012 R2
Server Roles: Domain Controller and DNS Server
Operating System: Windows Server 2012 R2
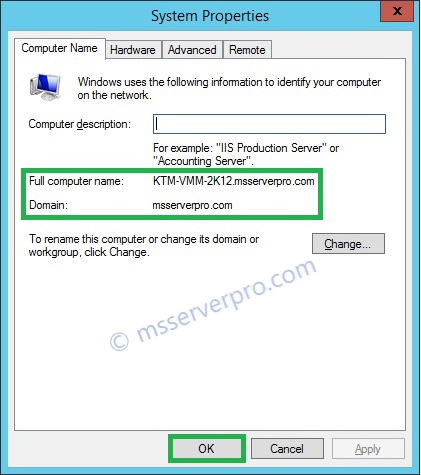
Computer Name: KTM-VMM-2K12.msserverpro.com
Server Roles: VMM Management Server and Console
Operating System: Windows Server 2012 R2
Server Roles: VMM Management Server and Console
Operating System: Windows Server 2012 R2
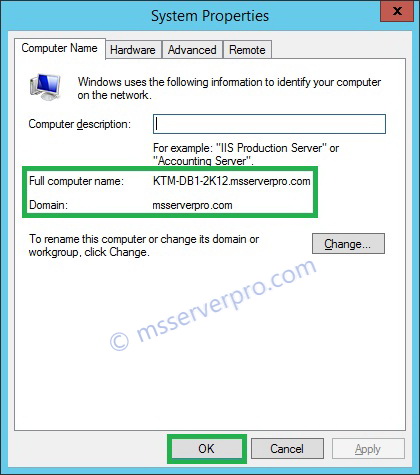
Computer Name: KTM-DB1-2K12.msserverpro.com
Server Roles: SQL Server Database (SQL Server 2012 with SP1 Database Engine Services)
Operating System: Windows Server 2012 R2
Server Roles: SQL Server Database (SQL Server 2012 with SP1 Database Engine Services)
Operating System: Windows Server 2012 R2
What is the new Distributed Key Management (DKM) feature in Microsoft System Center Virtual Machine Manager (VMM) 2012 and how does it benefit the security of the VMM configuration data?
The VMM database contains sensitive information, such as product keys and administrator passwords. To protect the contents of this database, VMM uses encryption. By default, the cryptographic keys needed to access the encrypted data are stored locally on the VMM server. However, in a clustered VMM server setup, both cluster nodes might need to access the same encryption keys, so the keys can't be stored on a single cluster node. That's why Microsoft introduced the DKM feature in VMM 2012. Instead of storing the keys locally on the server, DKM lets you store them in a special container named VMMDKM in Active Directory (AD).
You can configure DKM when you're installing a VMM management server with the Virtual Machine Manager Setup Wizard. On the Configure service account and distributed key management page of the wizard, you simply need to select the Store my keys in Active Directorycheck box and provide the location of the DKM container in AD. For example, if your domain is named windowsitpro.net, you'd specify CN=VMMDKM,DC=windowsitpro,DC=net. If the account you're using to install VMM has permission to create new containers in AD, the VMM installation will automatically create the VMMDKM container. If that's not the case, make sure that you manually create the container in AD before starting the VMM installation. (You can use ADSI Edit to create it.) Also make sure that the account with which you're installing VMM has full control permission to the VMMDKM container.
System Requirements: VMM Management Server:
Hardware requirements (Managing up to 150 hosts)
| Hardware component | Minimum | Recommended |
| Processor | Pentium 4.2 GHz (x64) | Dual-Processor, Dual-Core , 2.8 GHz (x64) or greater |
| RAM | 2 GB | 4 GB |
System Requirements: VMM Database Server:
Hardware requirements (Managing up to 150 hosts)
| Hardware component | Minimum | Recommended |
| Processor | Pentium 4.2 GHz (x64) | Dual-Core 64, 2 GHz |
| RAM | 2 GB | 4 GB |
Prerequisites:
- In Active Directory, Create a SCVMM service accounts for VMM Management Server and VMM Database Server.
- In Active Directory, Create Container for Distributed Key Management
- The VMM Management server and VMM Database server must be member of an Active Directory domain.
- Choose Windows Update settings, Run Windows Updates, and then Install latest Windows Updates on these servers.
- Install the SQL Server Database Engine for VMM implementation, when you Install SQL Server, select the Database Engine Services and the Management Tools- Complete features.
- Configure SQL Server Roles to SCVMM Service Account.
- Add SCVMM Service account to Local Administrators members in VMM Management Server.
- Installing VMM dependencies on the SCVMM server, install the Windows Assessment and Deployment Kit (ADK) for Windows 8.1, select the Deployment Tools and the Windows Preinstallation Environment features and install Microsoft SQL Server 2012 Feature Pack, SQL Server Command Line Utilities and Microsoft SQL Server 2012 Native Client.
- Installing a VMM management server
Step 1: In Active Directory, Create a SCVMM Service Account for VMM Management Server:
- In Server Manager, click Tools, and then click Active Directory Users and Computers. In Active Directory User and Computers console, expand msserverpro.com, Right-click ServiceAccounts OU, point to New, and then click User.
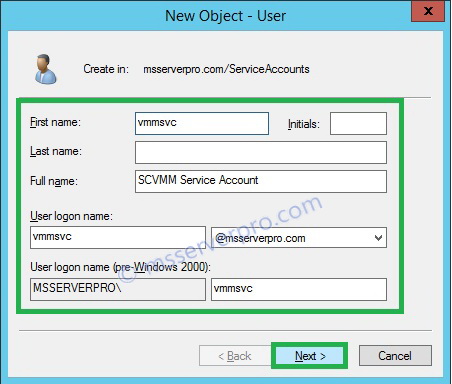
- In the New Object- User dialog box, in First name, type vmmsvc, in Full name, type SCVMM Service Account, in User login name, type vmmsvc and click Next.
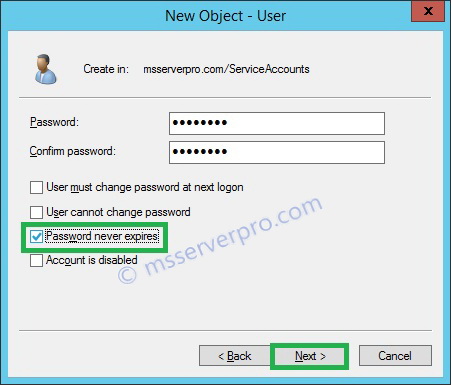
- In Password and Confirm password, type P@ssw0rd. Select the Password never expires check box, and then click Next.
- Click Finish.


Step 2: In Active Directory, Create Container for Distributed Key Management:
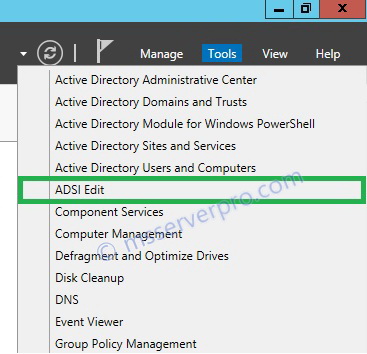
- On KTM-DC1-2K12, Log in as Domain Administrator, In Server Manager, click Tools, and then click ADSI Edit.
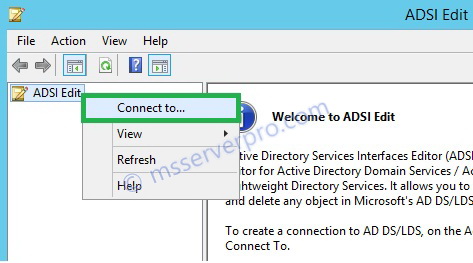
- On the ADSI Edit page, Right-click on ADSI Edit and select Connect to..
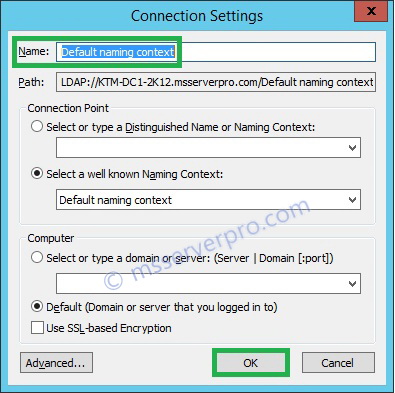
- On the Connection Settings dialog box, select Default naming context and click OK.
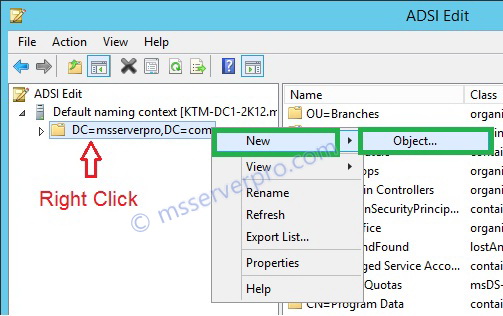
- Expand Default naming context [KTM-DC1-2K12.msservepro.com], Right-click on DC=msserverpro.com,DC=com and select New and then click Object..
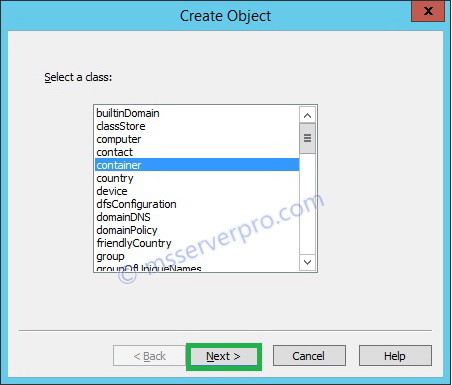
- On the Create Object dialog box, click container and then click Next.
- On the Create Object dialog box, in the Value textbox, type VMMDKM and then click Next.
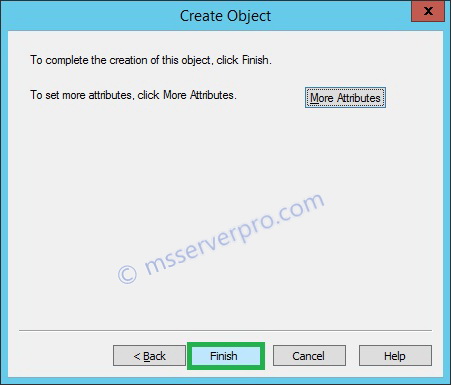
- On the Create Object dialog box, Click Finish.
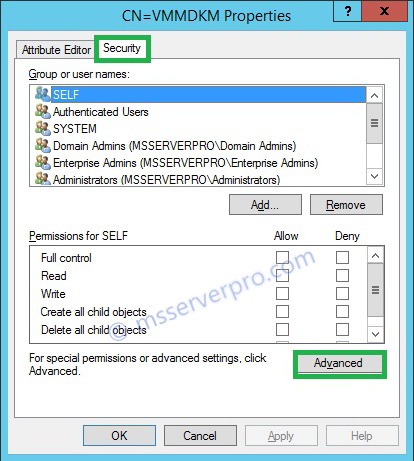
- On the ADSI Edit page, Right-click on CN=VMMDKM and select Properties.
- On the CN=VMMDKM Properties dialog box, Click Security Tab and then click Advanced.
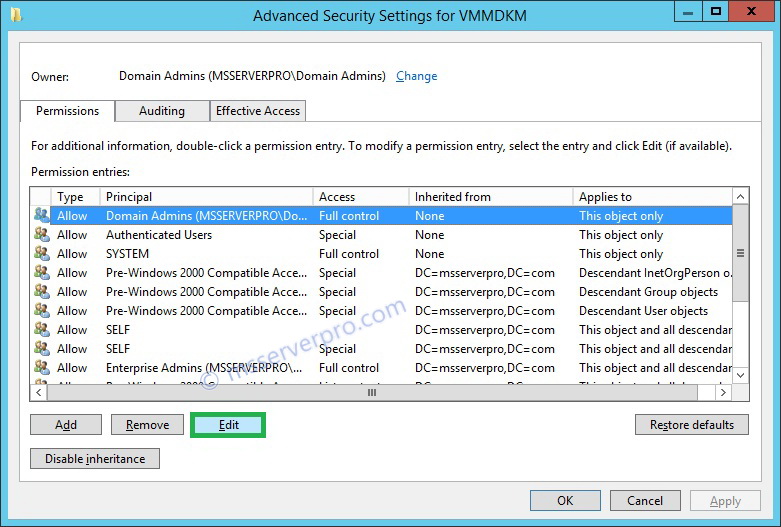
- On the Advanced Security Settings for VMMDKM dialog box, select Domain Admins and then click Edit.
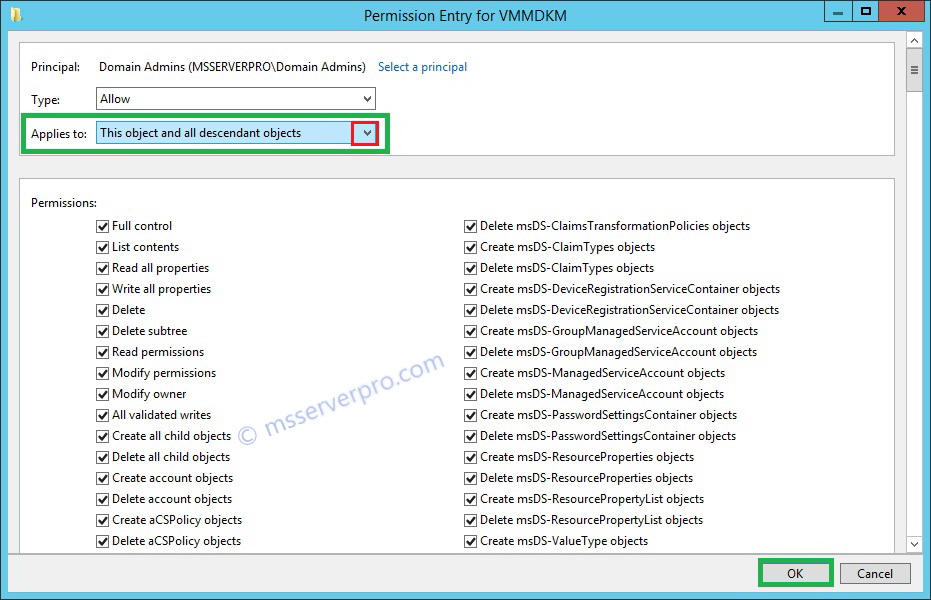
- On the Permission Entry for VMMDKM dialog box, in the Applies to drop-down menu, select This object and all descendant objects .In Permissions section make sure Full control check box is selected and click OK.
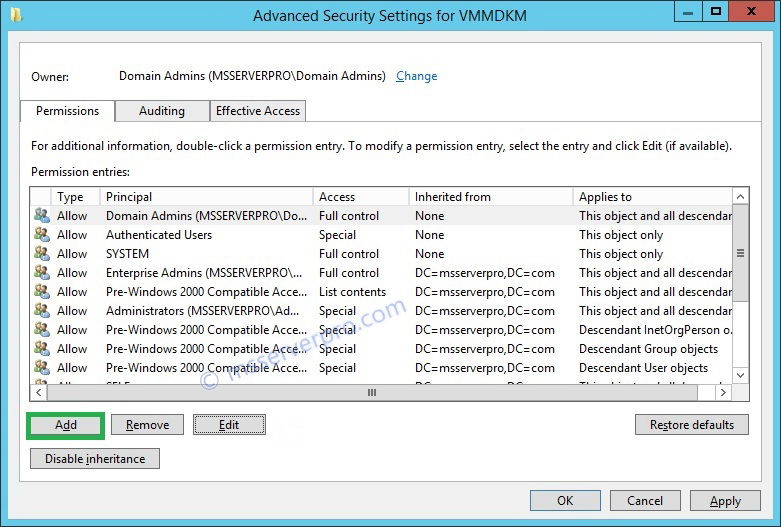
- On the Advanced Security Settings for VMMDKM dialog box, Click on Add.
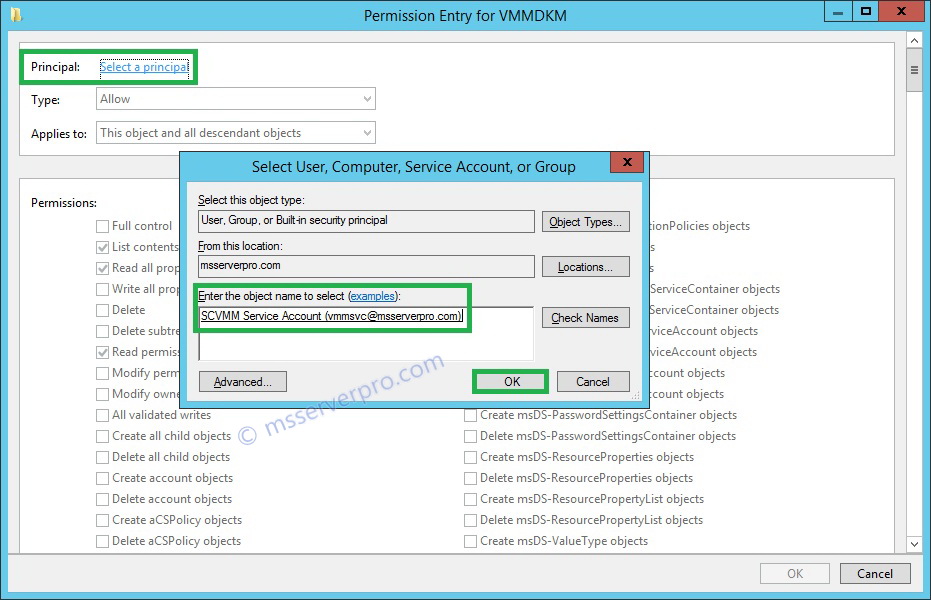
- On the Permission Entry for VMMDKM dialog box, click on Select a principal. On the Select User, Computer, Service Account, or Group dialog box, type SCVMM Service Account (vmmsvc@msserverpro.com) and click OK.
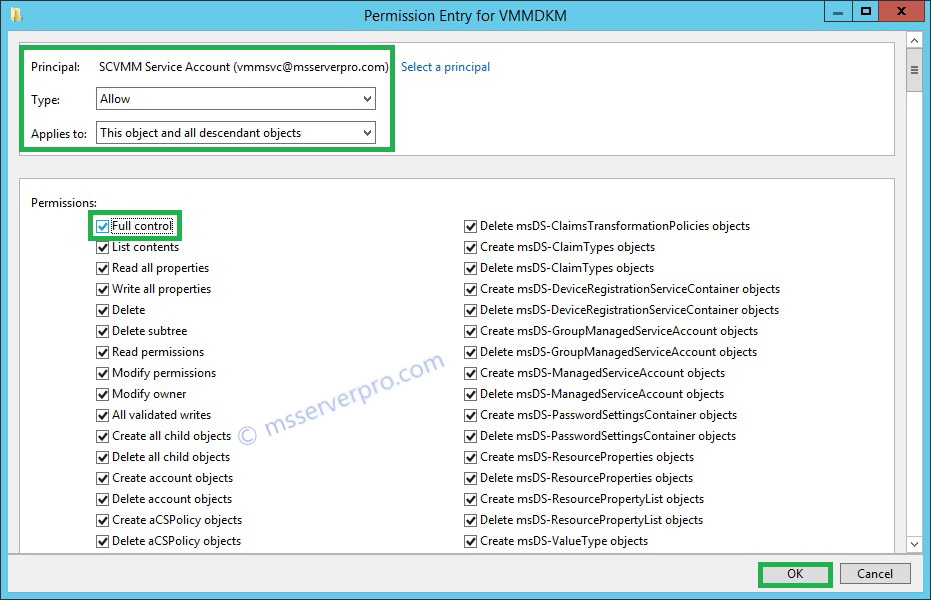
- On the Permission Entry for VMMDKM dialog box, in the Applies to drop-down menu, select This object and all descendant objects. In Permissions section, click on Full control and click OK.
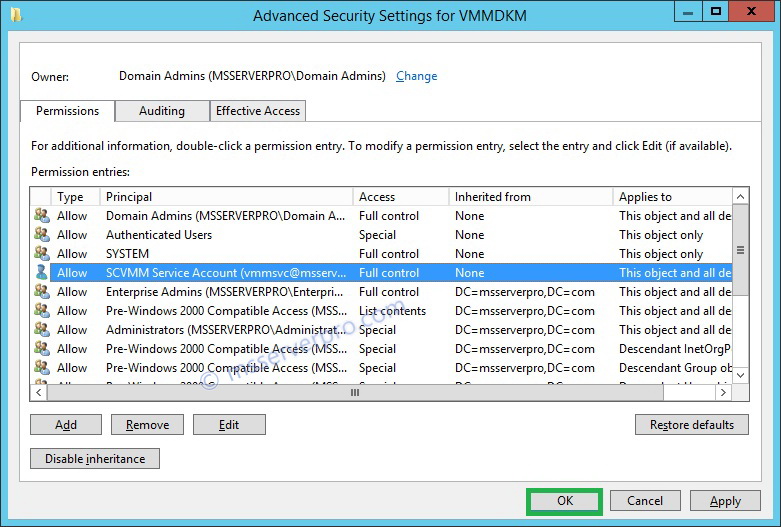
- On the Advanced Security Settings for VMMDCK dialog box, click OK.
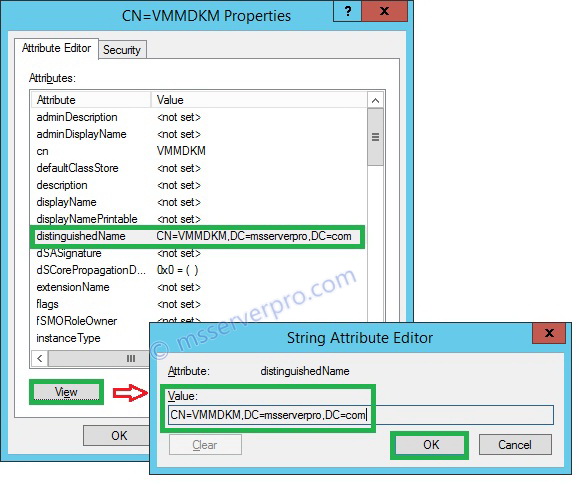
- On the CN=VMMDKM Properties dialog box, click Attribute Editor tab, select distinguishedName and click View. On the String Attribute Editor box, please note the distinguishedName Value: CN=VMMDKM,DC=msserverpro,DC=com and click OK. We need this value during installation of SCVMM.


Step 3: The VMM Management Server and VMM Database Server must be member of an Active Directory Domain:
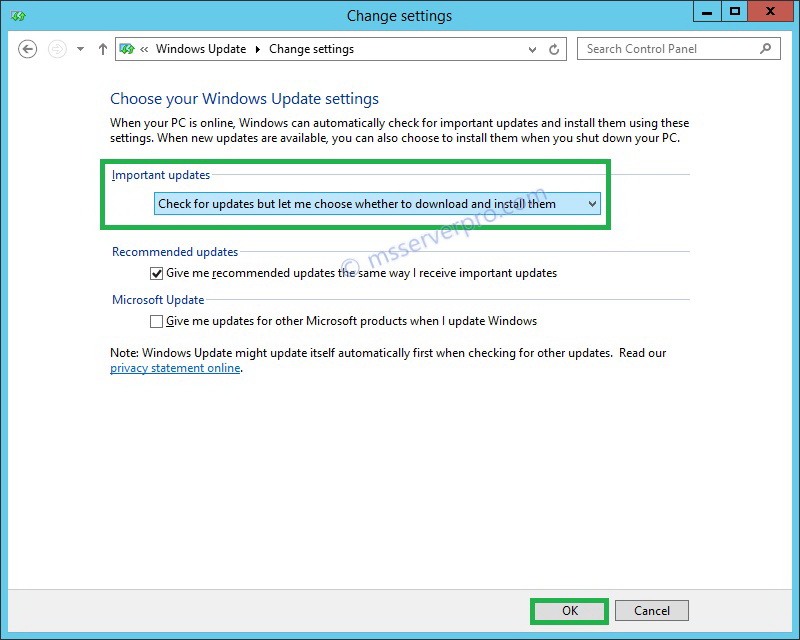
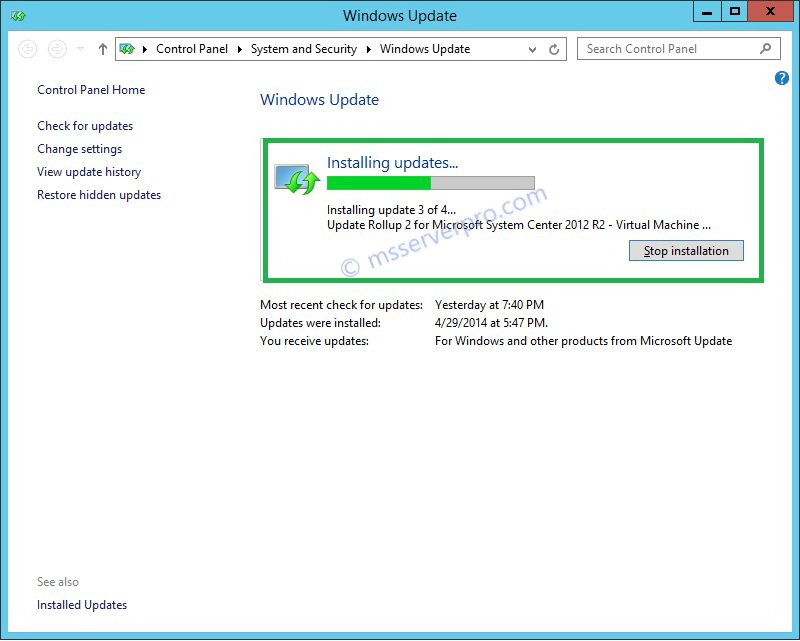
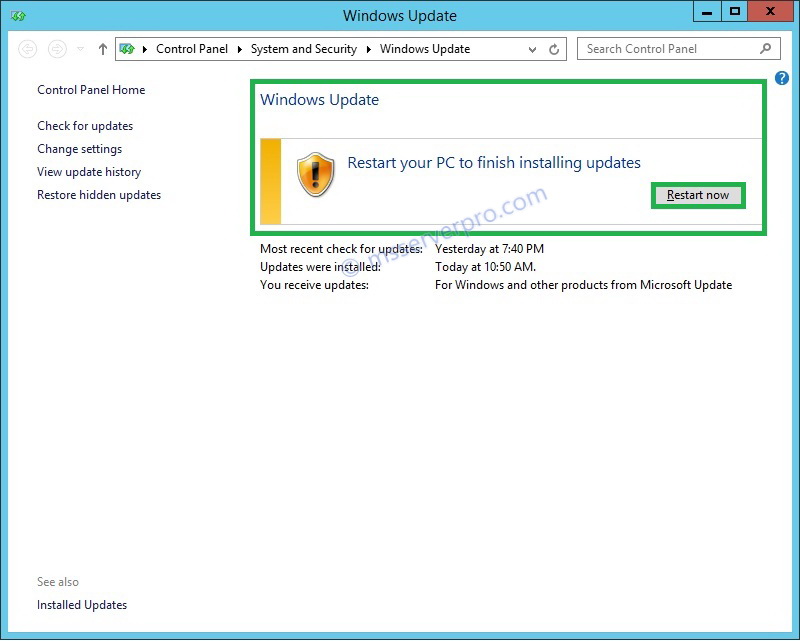
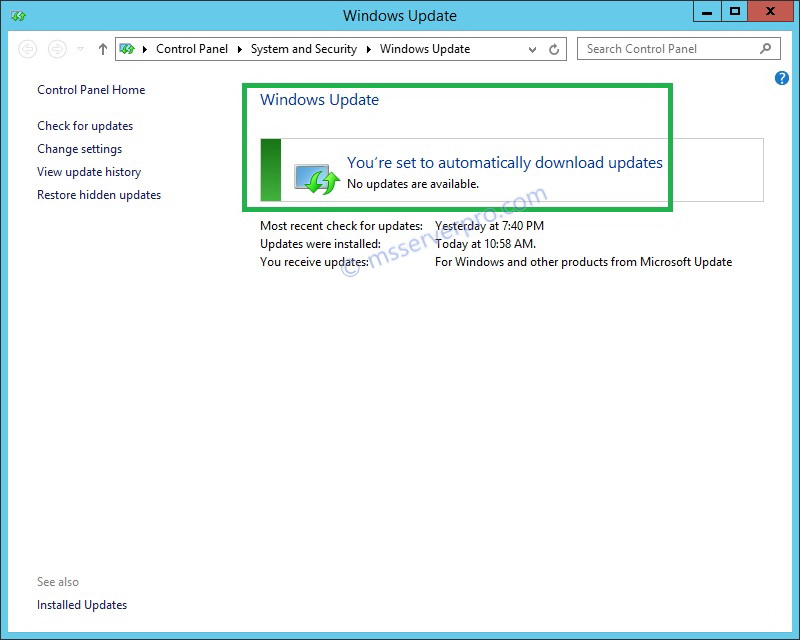
Step 4: Choose Windows Update settings, Run Windows Updates, and then Install latest Windows Updates on these servers:

Step 5: Install SQL Server for VMM implementation, when you Install SQL Server, select the Database Engine Services and the Management Tools- Complete features:
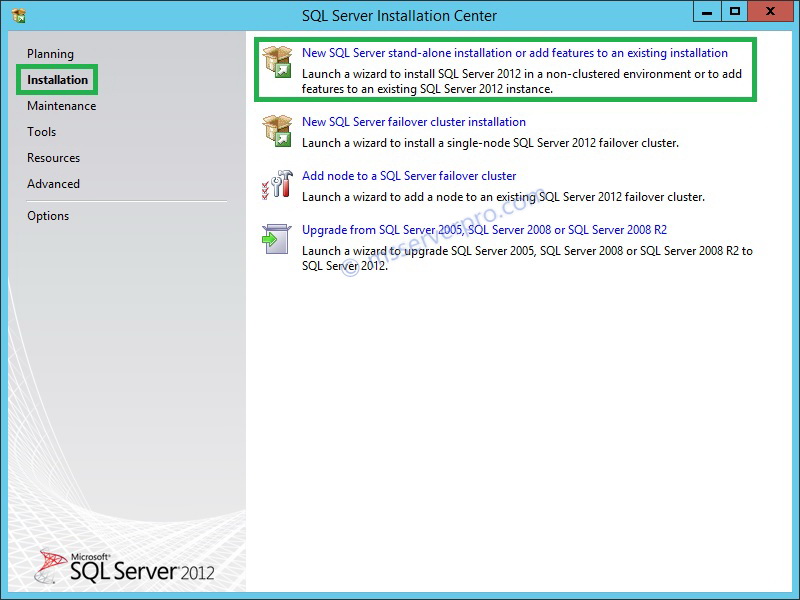
- Log on KTM-DB1-2K12, double-click SQLServer setup drive and wait for SQL Server Setup to start. In the SQL Server Installation Center window, click on the Installation tab, and then click New SQL Server stand-alone installation or add features to an existing installation from the list of available options and wait for SQL Server setup to start.
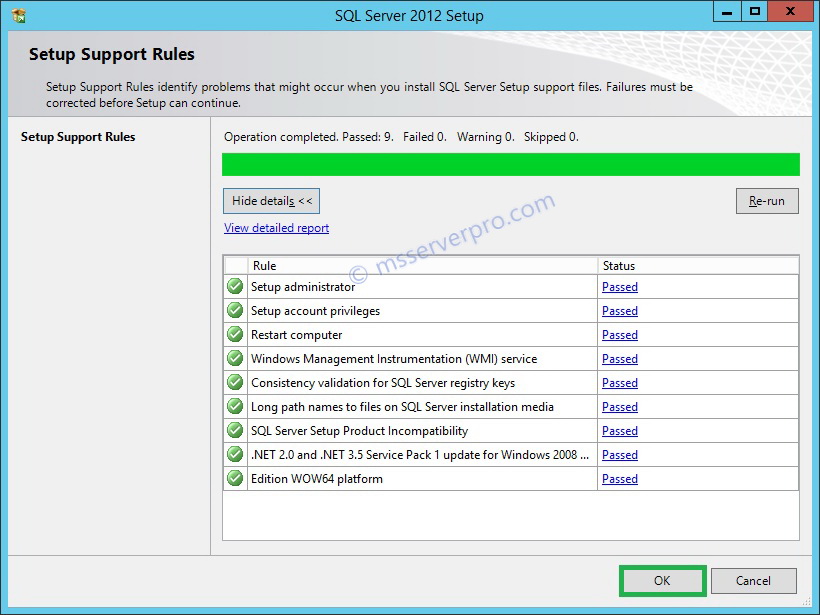
- On the Setup Support Rules window, click OK.
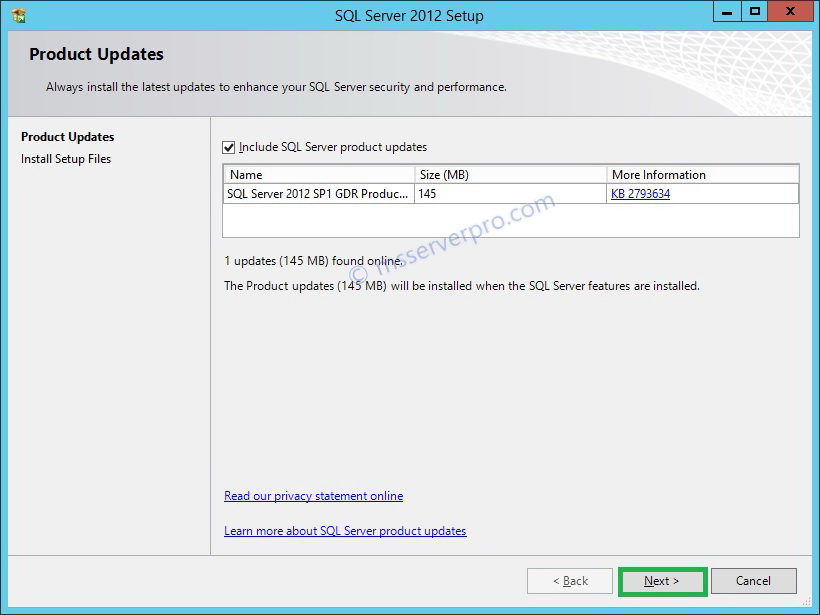
- On the Product Updates window, check Include SQL Server product updates and click Next.
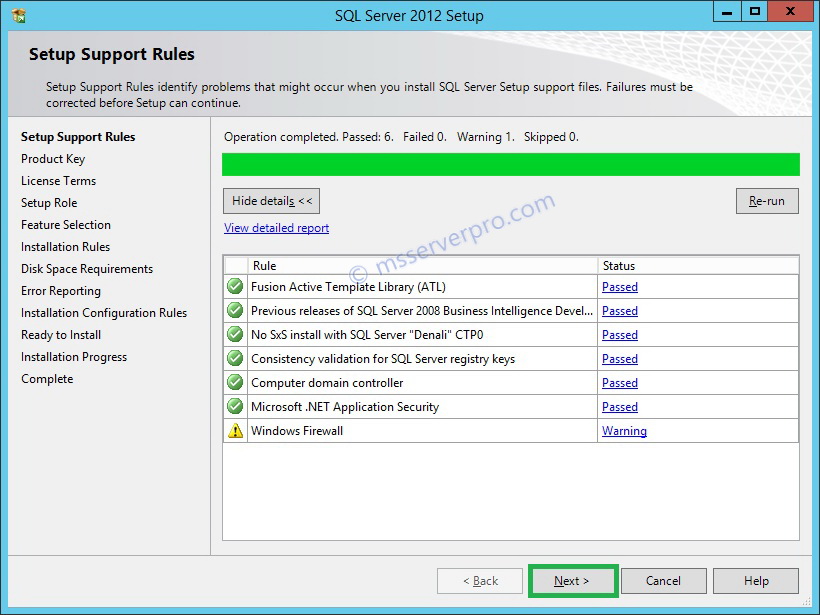
- On the Setup Support Rules page, click Show details and read the installation checklist and check to make sure the status for items have Passed. Note any warnings that are listed and click Next.
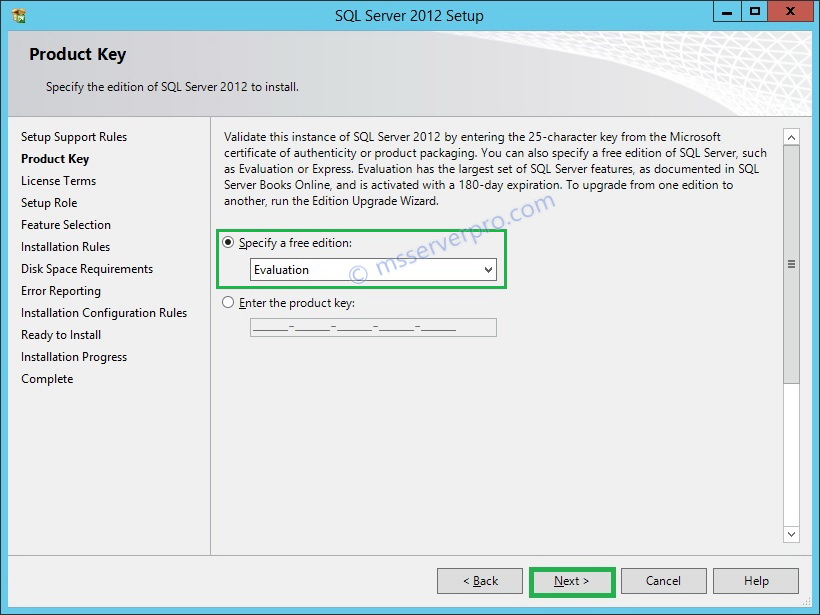
- On the Product Key window, click Next.
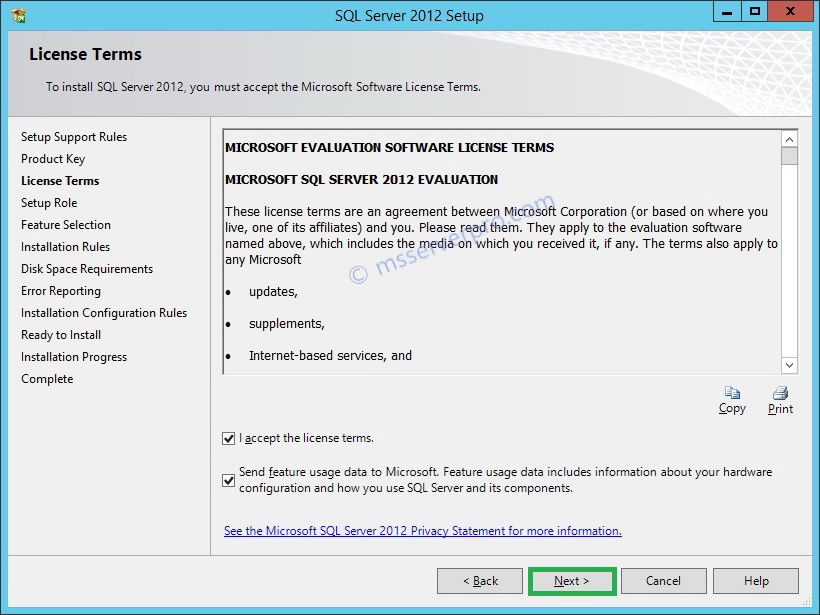
- On the License Terms page, check I accept the license terms and click Next.
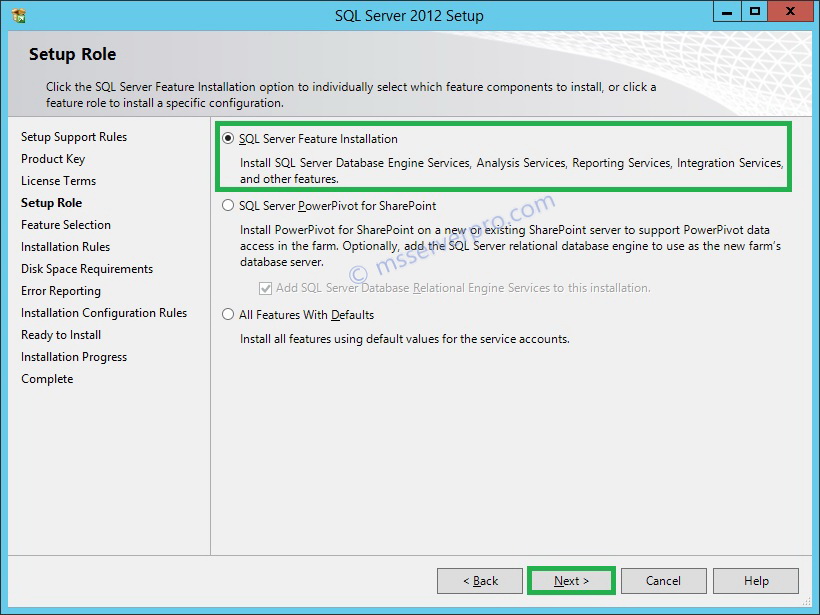
- On the Setup Role page, ensure that SQL Server Feature Installation is selected and click Next.
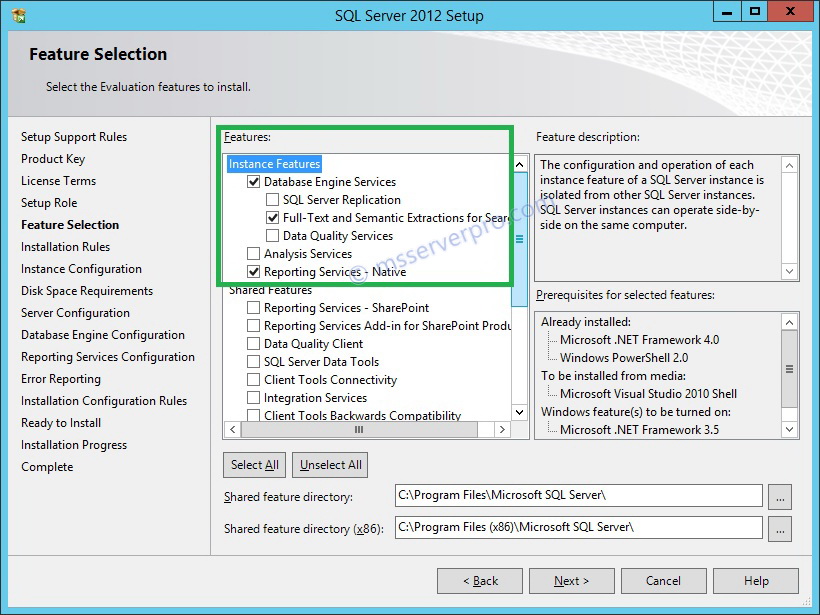
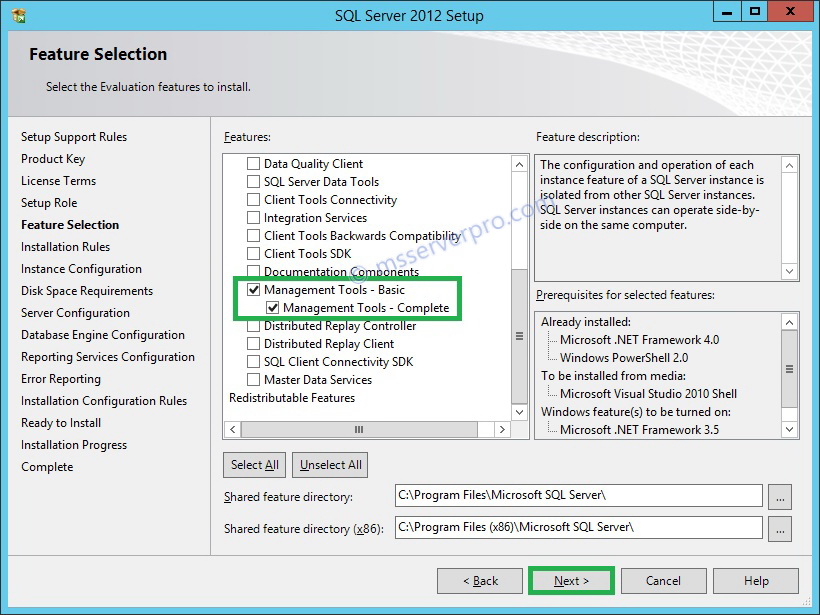
- On the Feature Selection page, under the Instance Features check Database Engine Services, Full-Text and Semantic Extractions for Search, Reporting Services –Native, and Management Tools-Basic and Complete (for running queries and configuring SQL services) and click Next. Here, I am going to setup a shared SQL Server for other System Center components.
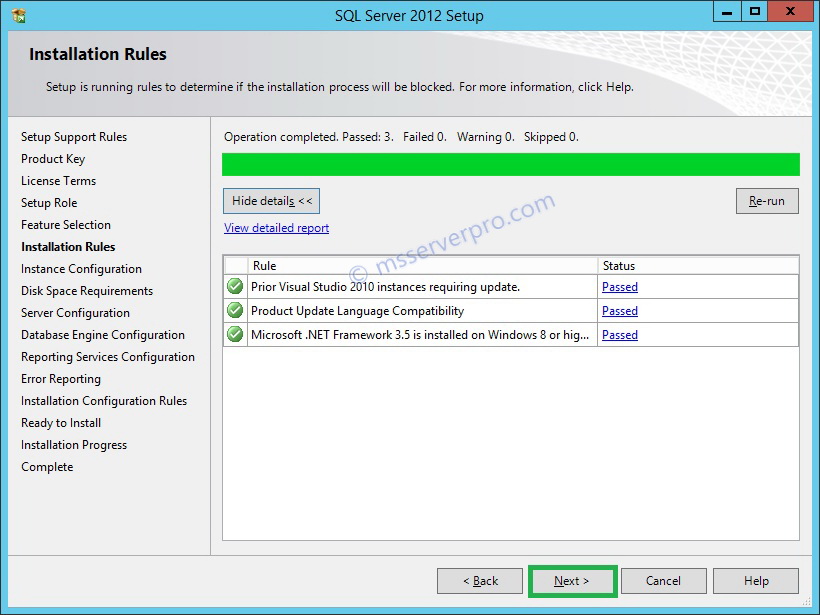
- On the Installation Rules page, click Show details, note the list of rules and the status of each rule and click Next.
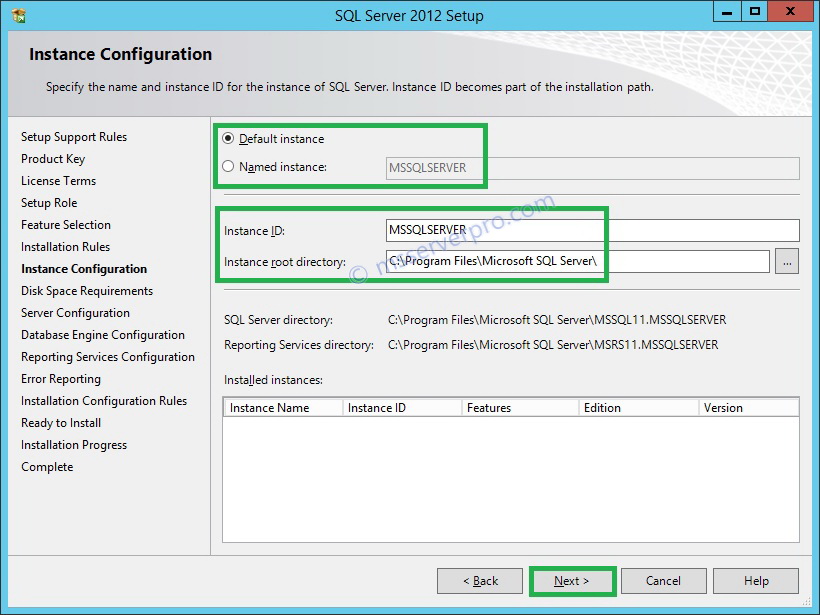
- On the Instance Configuration page, ensure that Default instance is selected and click Next.
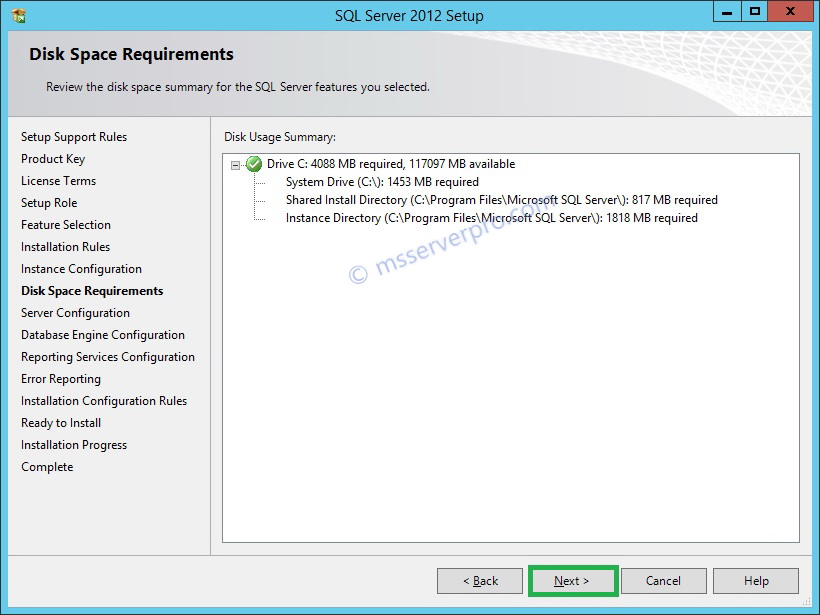
- On the Disk Space Requirements page, click Next.
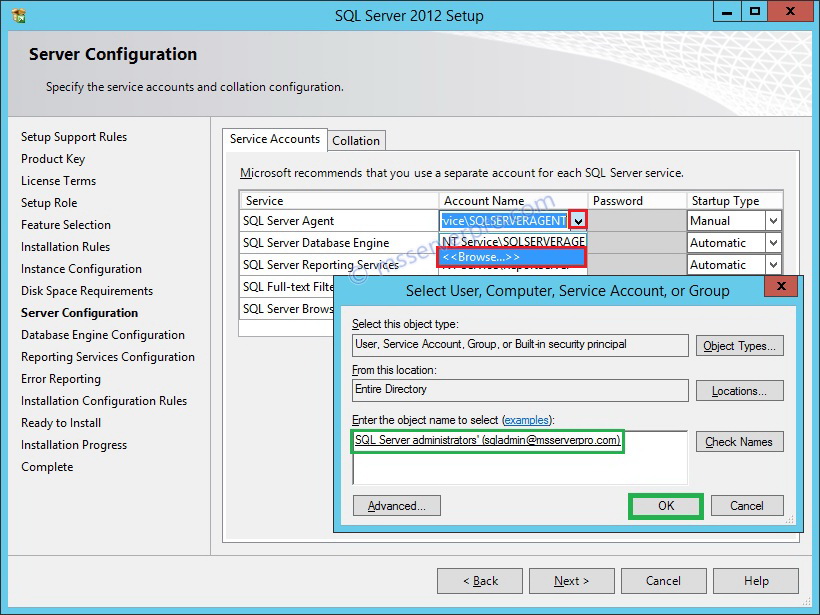
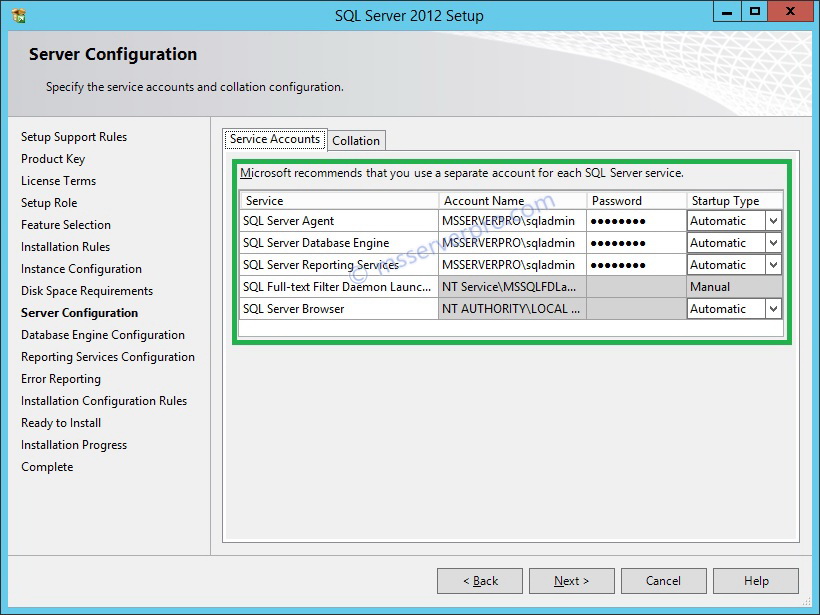
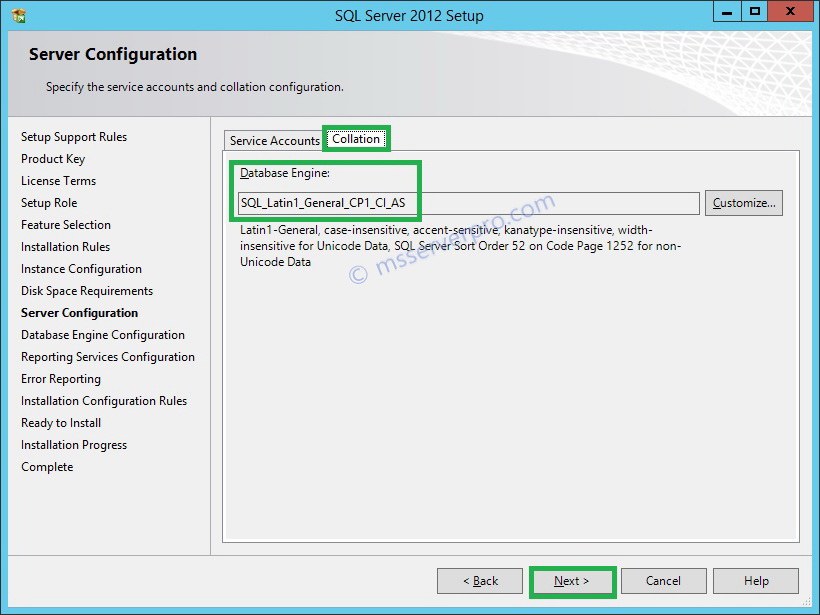
- On the Server Configuration page, click the Account Name field for the SQL Server Agent row and select <<Browse…>>from the drop-down list. In the Select User, Computer, Service Account, or Group window, in the Enter the object name to select (Examples): dialog box type sqladmin, click Check Names and click OK. Do the same process for SQL Server Database Engine and SQL Server Reporting Services. Click the Collation tab, ensure that SQL_Latin1_General_CP1_CI_ASis selected and click Next.
- On the Database Engine Configuration page, on the Server Configuration tab, in the Authentication Mode section, ensure that Windows authentication mode is selected. Click Add Current User, this will add the user MSSERVERPRO\administrator (Administrator) to the list of Administrators. Click Add .In the Select User, Computer, Service Account, or Group window, in the Enter the object name to select (Examples): dialog box type sqladmin, click Check Names and click OK. Then Click Next.
- On the Reporting Services Configuration window, ensure that Install and configure is selected and click Next.
- On the Error Reporting page, click Next.
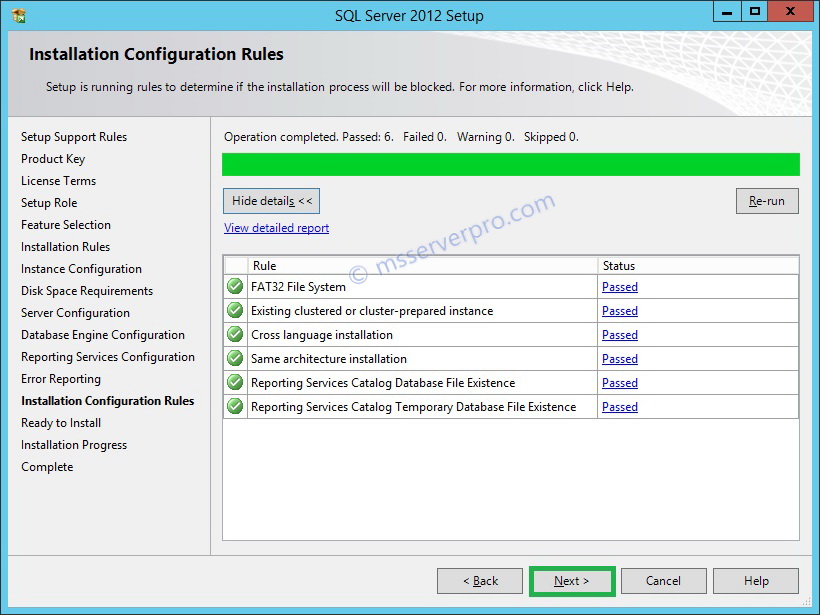
- On the Installation Configuration Rules page, Show details, review the list of rules, and click Next.
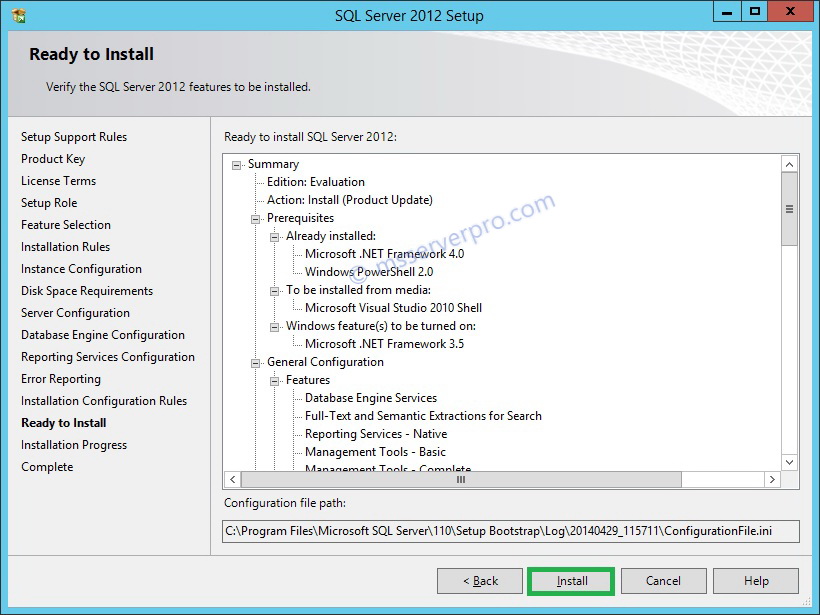
- On the Ready to Install page, review the summary and click Install.
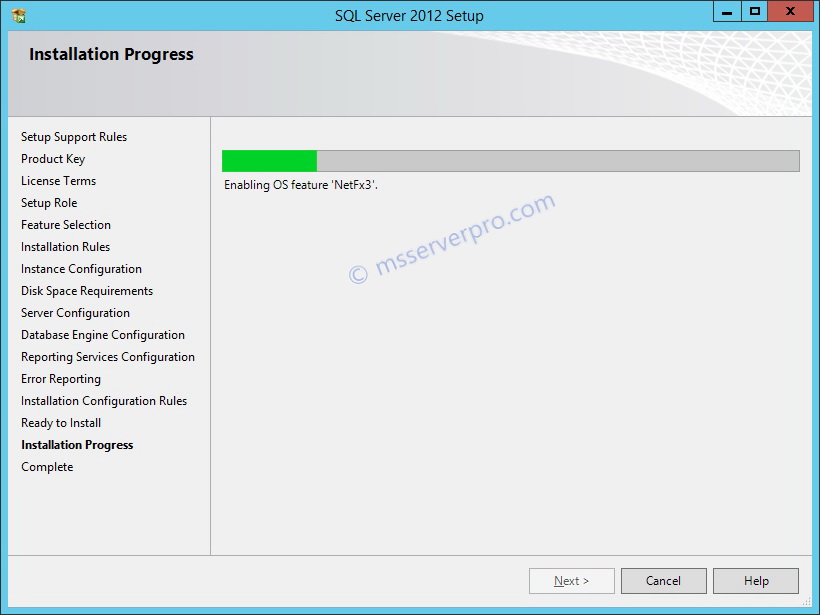
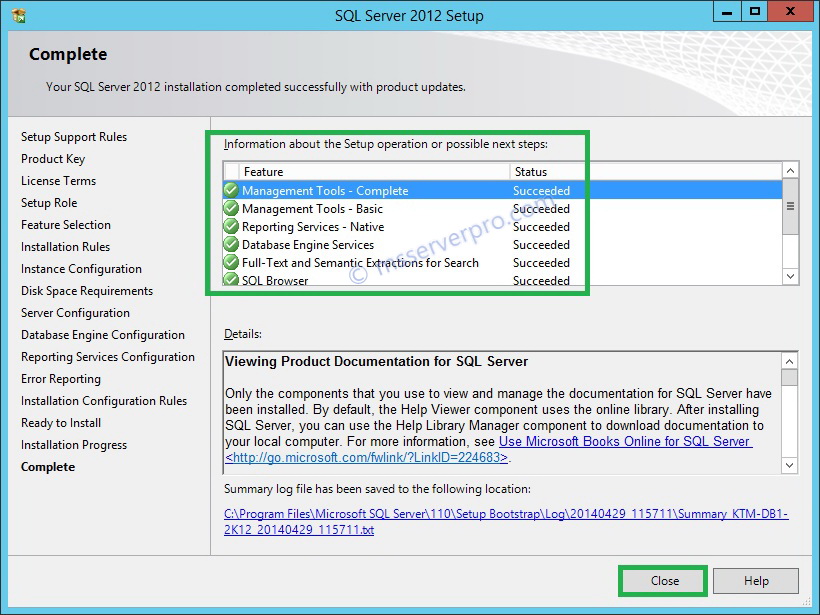
- On the SQL Server 2012 Setup page, Installation Progress begin…
- On the Complete page, verify Your SQL Server 2012 installation completed successfully with product updates and click Close.


Step 6: Configure SQL Server Roles to VMM Service Account:
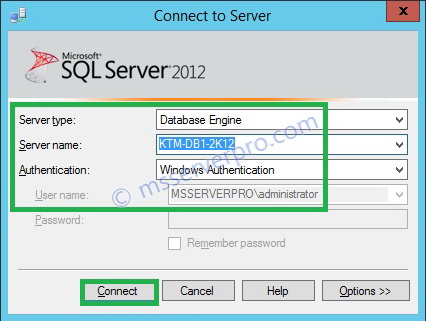
- In KTM-DB1-2K12, Open SQL Server Management Studio, In the Connect to Server window, ensure that Server Type is set to Database Engine. In the Server name test box, ensure KTM-DB1-2K12. In the Authentication drop-down list, select Windows Authentication, and click Connect.
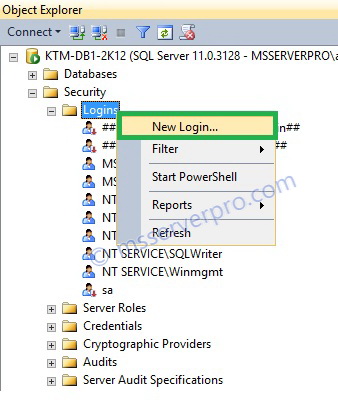
- In object Explorer, expand Security, Right-click Logins and the click New Login..
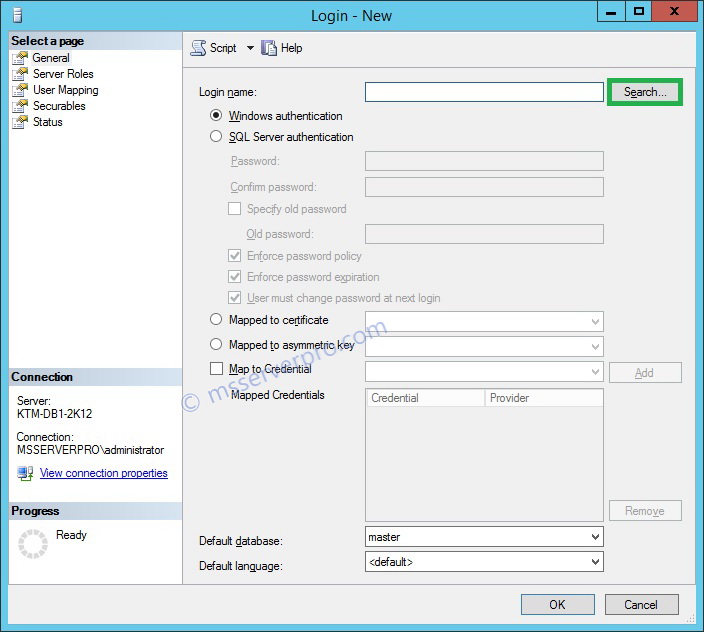
- In the Login-New window, click Search..
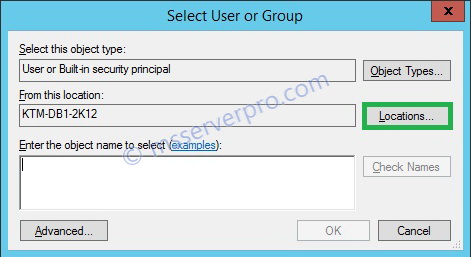
- In the Select User or Group window, click Locations..
- In the Locations window, select Entire Directory and then click OK.
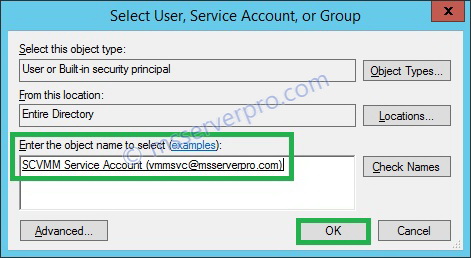
- In the Select User, Computer, Service Account, or Group window, in the Enter the object name to select (Examples): dialog box type vmmsvc, click Check Names and click OK.
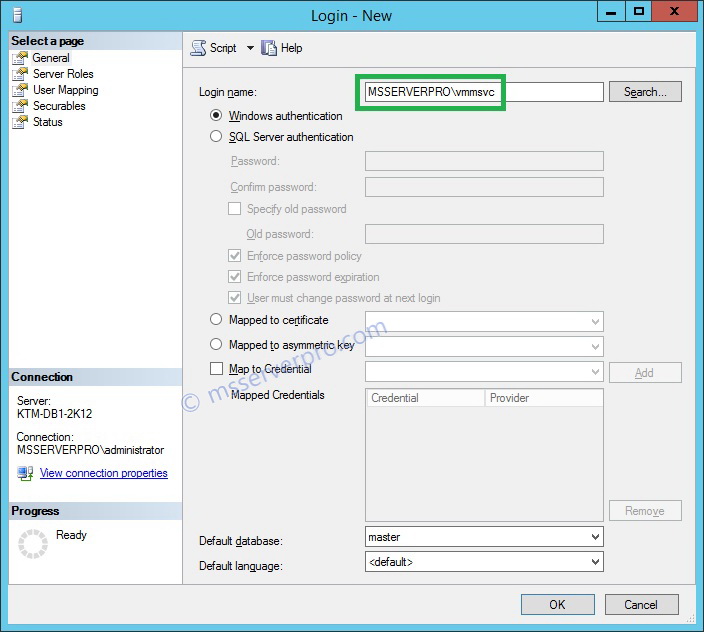
- In the Login-New window, verify MSSERVERPRO\vmmsvc in Login name.
- In the Login-New window, click Server Roles under Select a page, in Server role check dbcreator, processadmin, and securityadmin . Then click OK.


Step 7: Add SCVMM Service account to Local Administrators members in VMM Management Server:
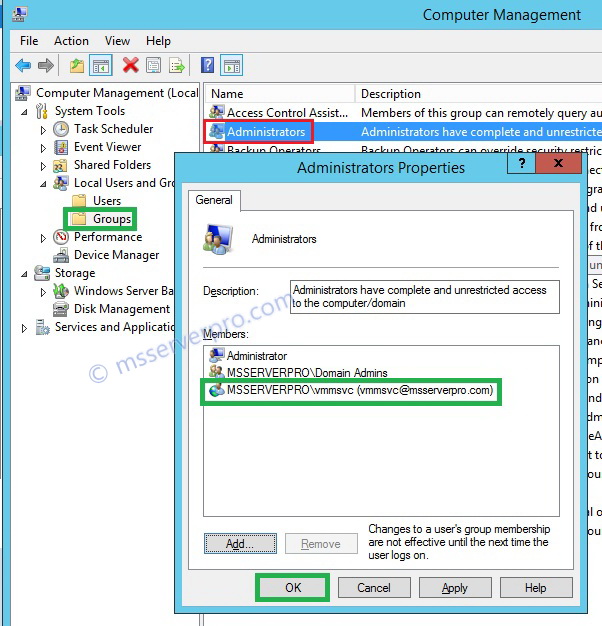
- In VMM Server, KTM-VMM-2K12, Open Computer Management.
- In Computer Management window, expand Local Users and Groups, click Groups > Double-click Administrators, add scvmm service account (vmmsvc@msserverpro.com) and click OK.

Step 8: Installing VMM dependencies on the SCVMM server:
- Install the Windows Assessment and Deployment Kit (ADK) for Windows 8.1,
- Install Microsoft SQL Server 2012 Feature Pack, SQL Server Command Line Utilities and Microsoft SQL Server 2012 Native Client.
- In VMM Server, KTM-VMM-2K12, download Windows Assessment and Deployment Kit (Windows ADK) for Windows 8.1 update from Microsoft site, http://www.microsoft.com/en-us/download/details.aspx?id=39982
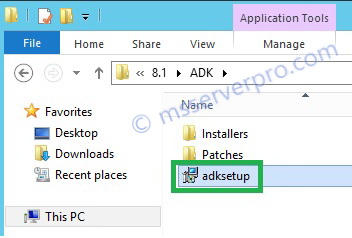
- To begin ADK setup double-click on adksetup.
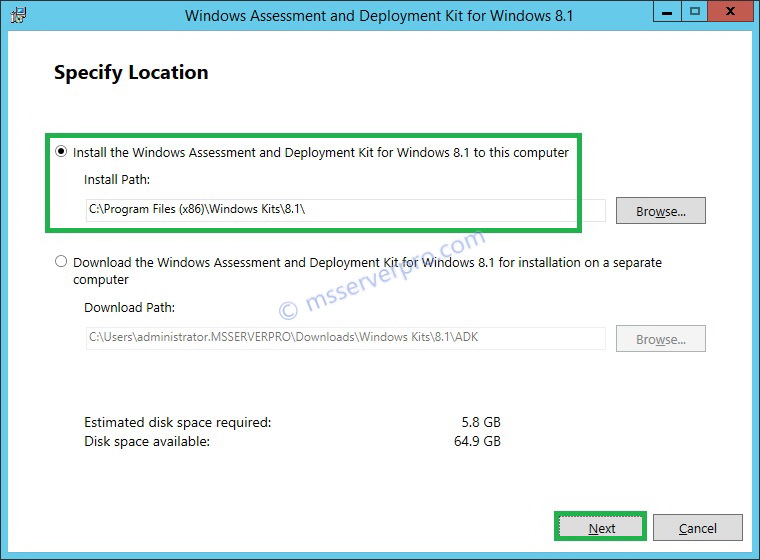
- In the Windows Assessment and Deployment Kit for Windows 8.1 window, select Install the Windows Assessment and Deployment Kit for Windows 8.1 to this computer and click Next.
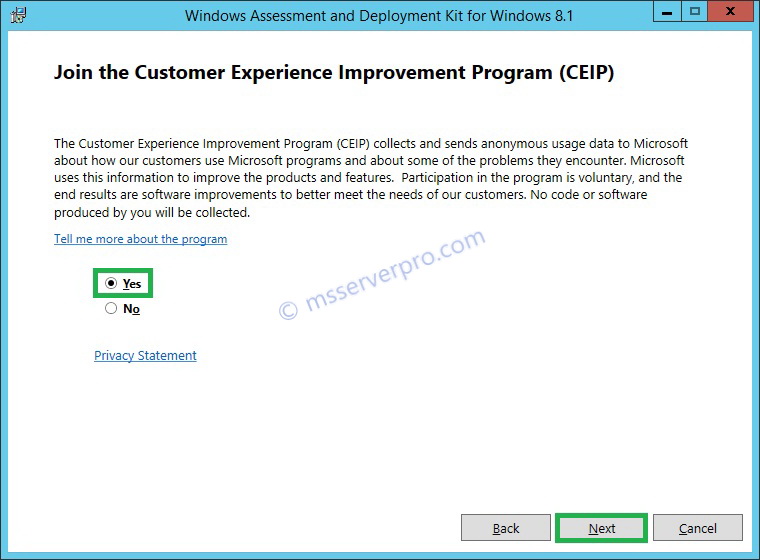
- In the Join the Customer Experience Improvement Program (CEIP) window, select Yes and then click Next.
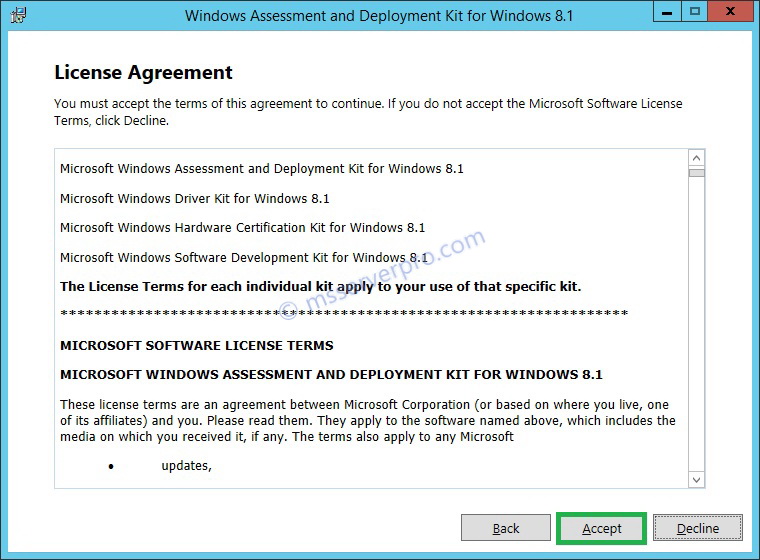
- In the License Agreement page, click Accept.
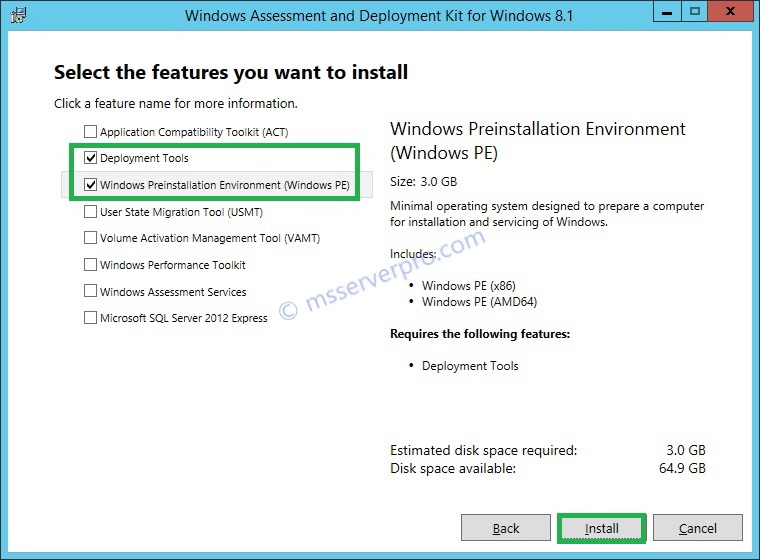
- In the Select the features you want to install window, select Deployment Tools and Windows Preinstallation Environment (Windows PE) and click Install.
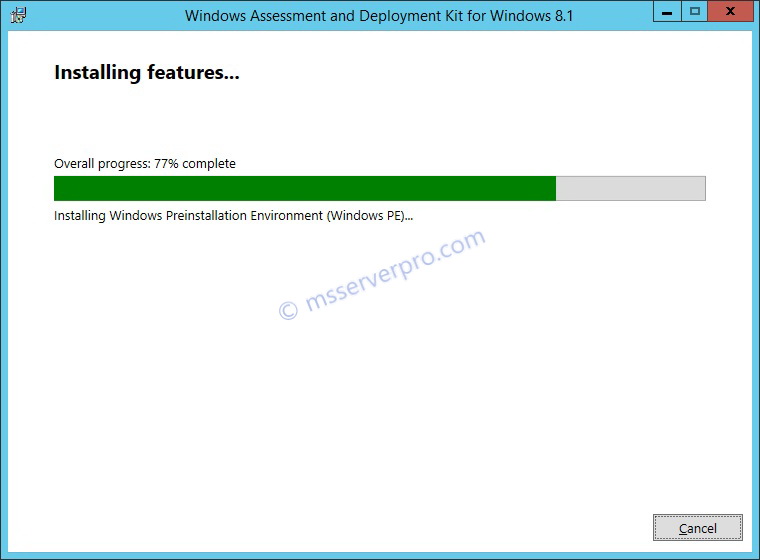
- In the Windows Assessment and Deployment Kit for Windows 8.1 window, Installing features… begin.
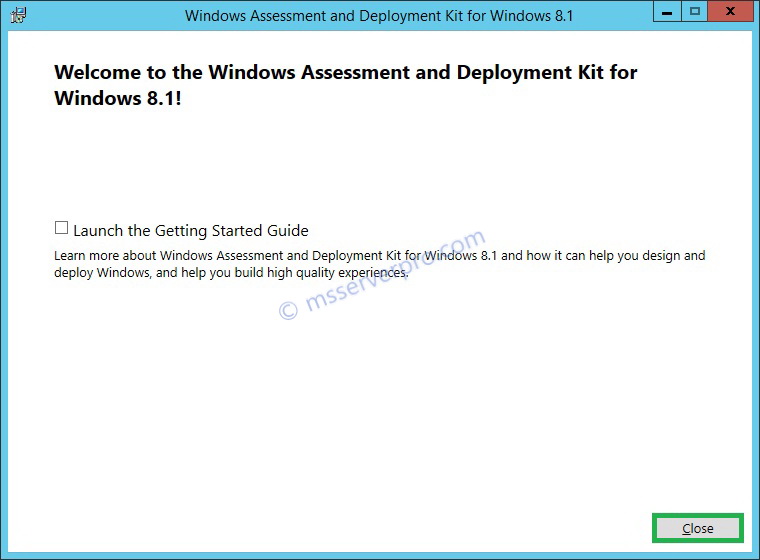
- In the Welcome to the Windows Assessment and Deployment Kit for Windows 8.1! window, click Close.
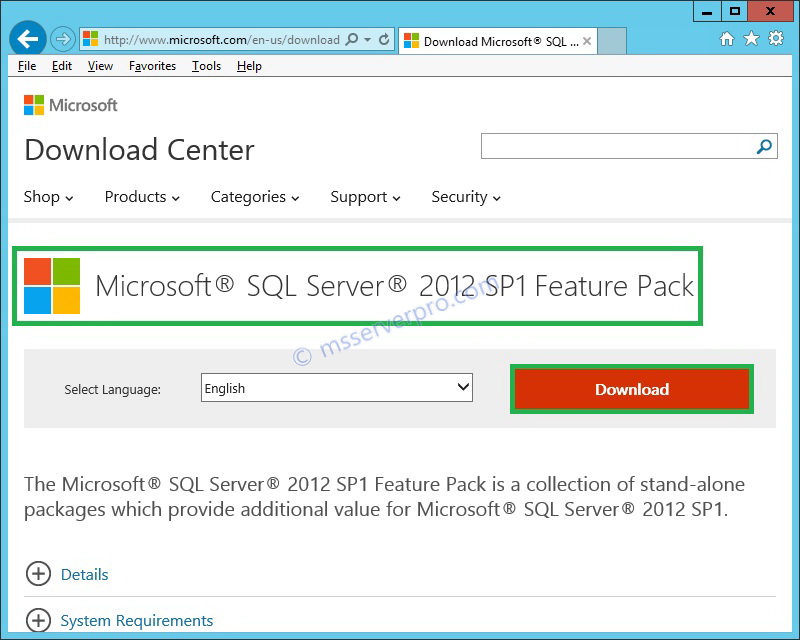
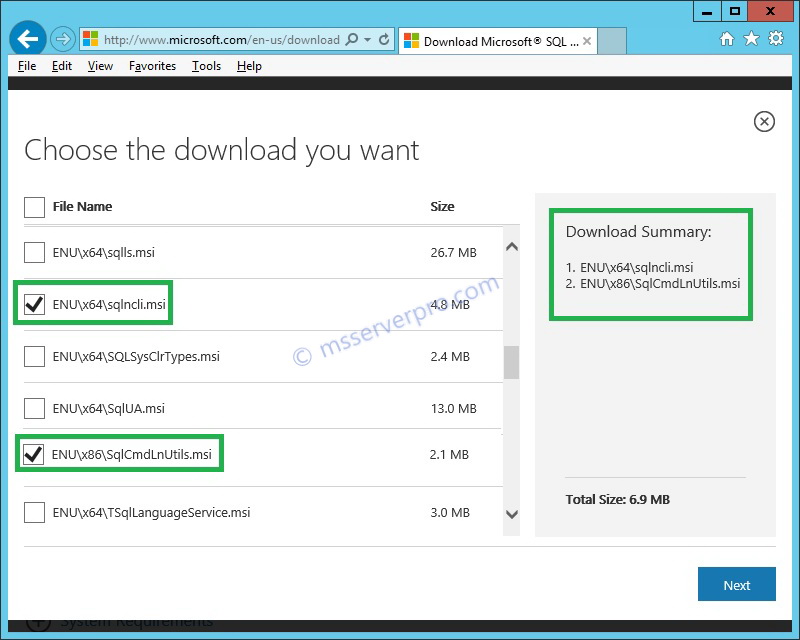
- Download Microsoft SQL Server 2012 SP1 Feature Pack from Microsoft site, http://www.microsoft.com/en-us/download/details.aspx?id=35580
- In the Choose the download you want window, check ENU\x64\sqlncli.msi and ENU\x86\SqlCmdLnUtils.msi and click Next to download.
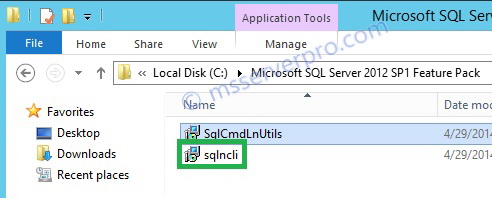
- To begin sqlncli.msi setup, double-click sqlncli.
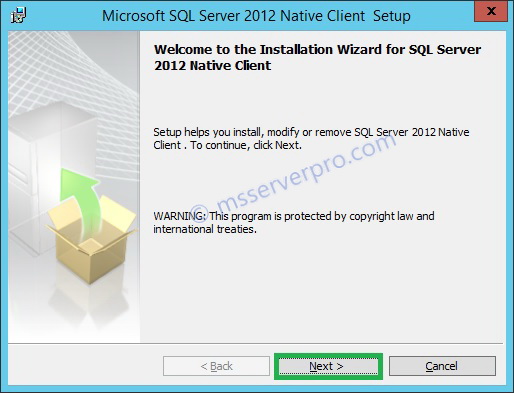
- In the Welcome to the Installation Wizard for SQL Server 2012 Native Client window, click Next.
- In the License Agreement window, select I accept the terms in the license agreement and click Next.
- In the Feature Selection window, click Next.
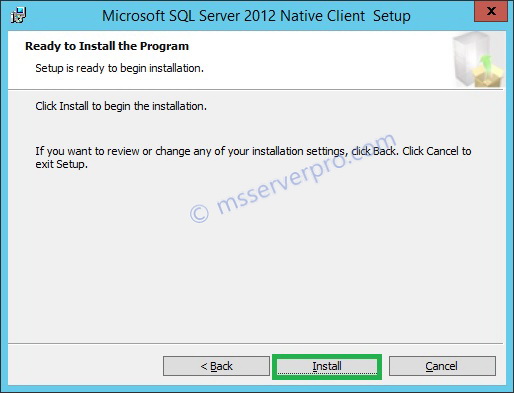
- In the Ready to Install the Program window, click Install.
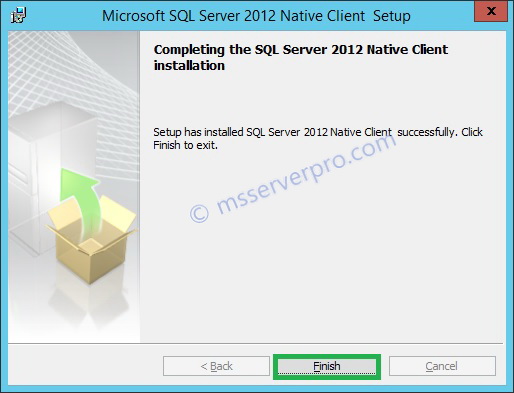
- In the Completing the SQL Server 2012 Native Client installation window, click Finish.
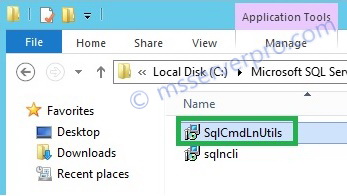
- To begin SqlCmdLnUtils.msi, double-click SqlCmdLnUtils.
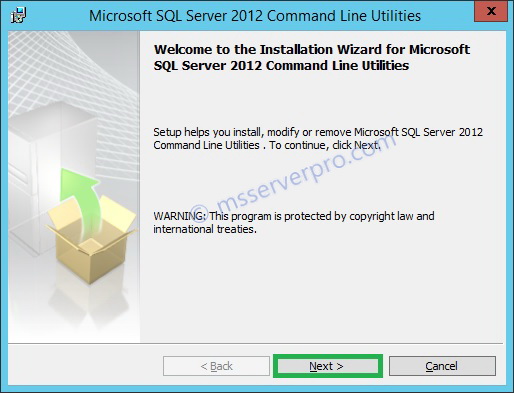
- In the Welcome to the Installation Wizard for Microsoft SQL Server 2012 Command Line Utilities window, click Next.
- In the License Agreement window, select I accept the terms in the license agreement and click Next.
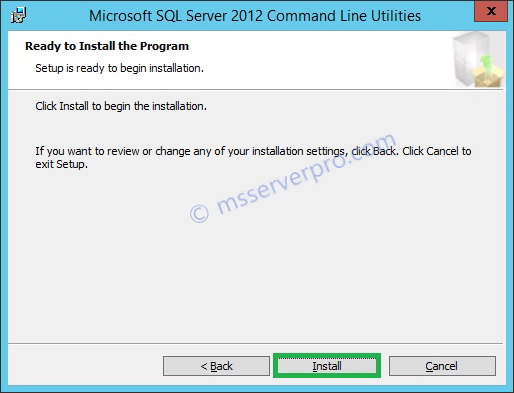
- In the Ready to Install the Program window, click Install.
- In the Completing the Microsoft SQL Server 2012 Command Line Utilities installation window, click Finish.


Step 9: Installing VMM Management Server:
- In VMM Server, KTM-VMM-2K12, to start the Virtual Machine Manager Setup wizard, on your installation media, double-click setup.exe. In the Virtual Machine Manager 2012 window, select Install. This starts the VMM Setup wizard.
- Virtual Machine Manager Setup begin..
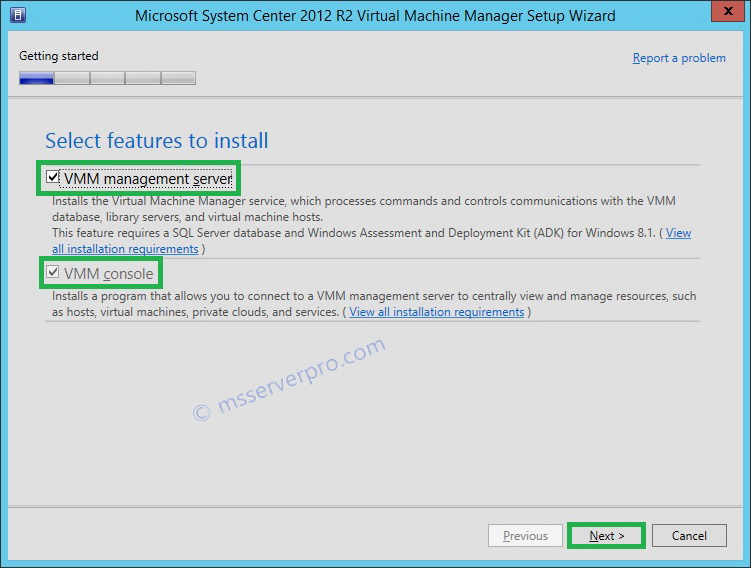
- On the Select features to install page, select the VMM management server check box, which automatically also
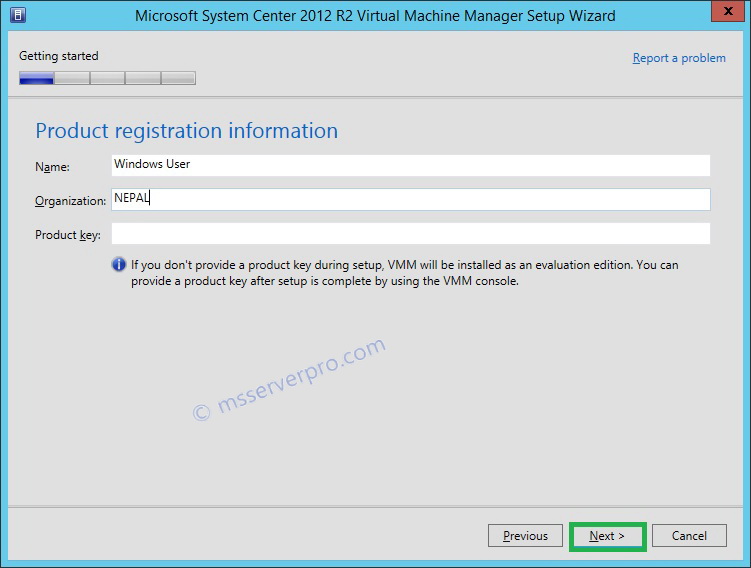
selects VMM Console and then click Next. - On the Product registration information page, provide the organization information and then click Next.
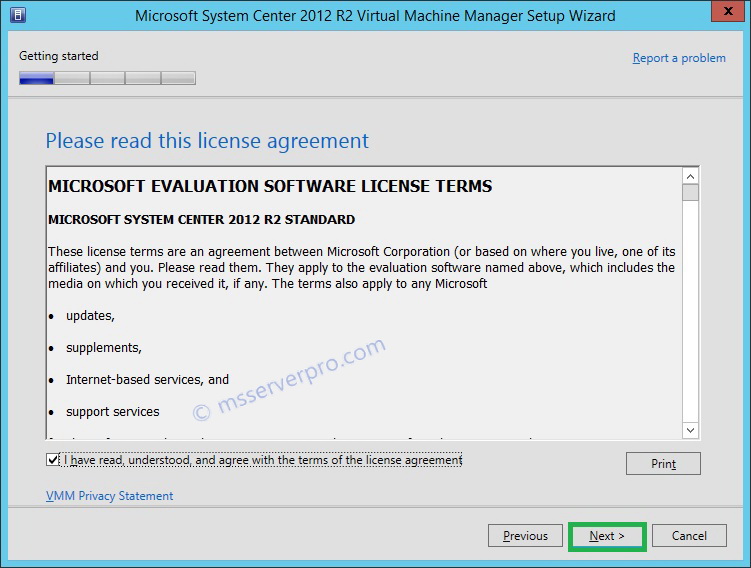
- On the Please read this license agreement page, review the license agreement, select the I have read, understand, and agree with the terms of the license agreement check box, and then click Next.
- On the Customer Experience Improvement Program (CEIP) page, select the Yes, I am willing to participate in the Customer Experience Improvement Program check box, and then click Next.
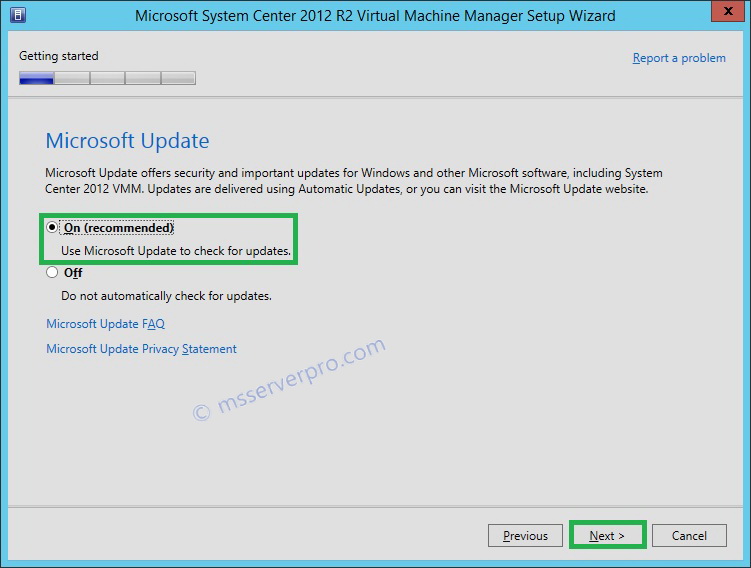
- On the Microsoft Update page, select the On (recommended) and then click Next.
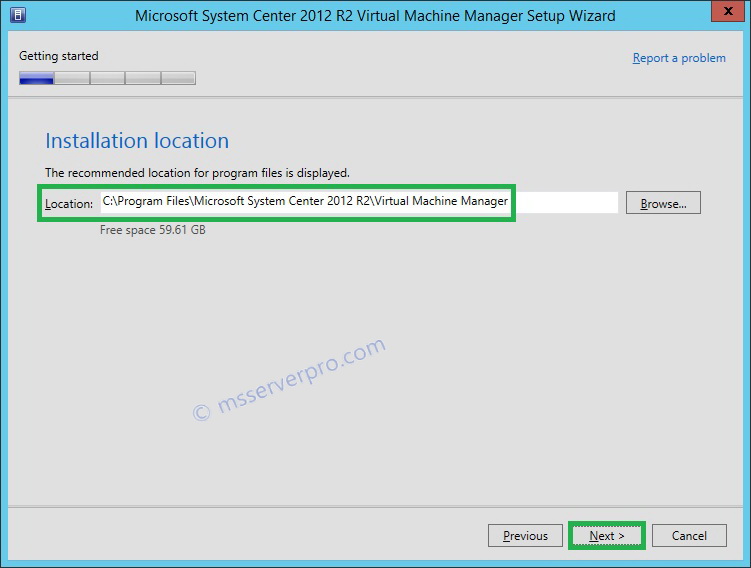
- On the Installation location page, use the default location and then click Next.
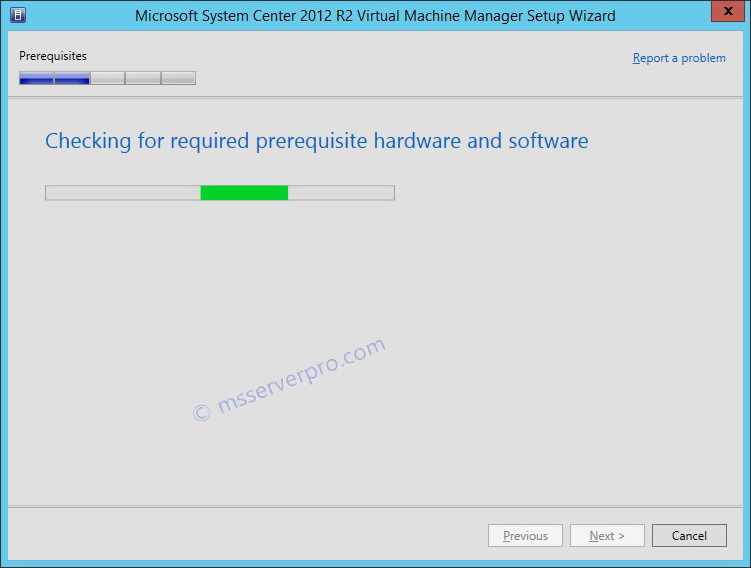
- On Prerequisites page, wizard run Checking for required prerequisite hardware and software.
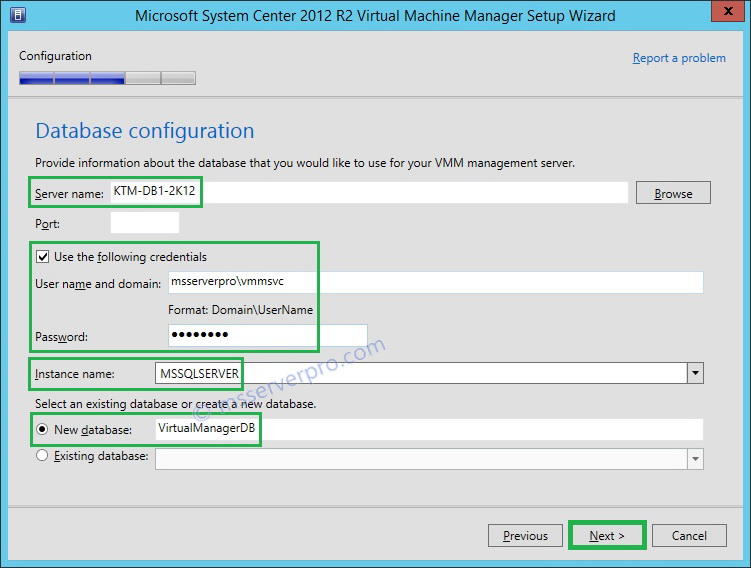
- On the Database configuration page, in the Server name box, type KTM-DB1-2K12, which is the name of database server, select the Use the following credentials check box, in the User name and domains field, type msserverpro\vmmsvc and Password field, type P@ssw0rd. In the Instance name field, click the drop-down arrow, and then click MSSQLSERVER. In the Select an existing database or create a new database area, use the default New database VirtualManagerDB, and then click Next.
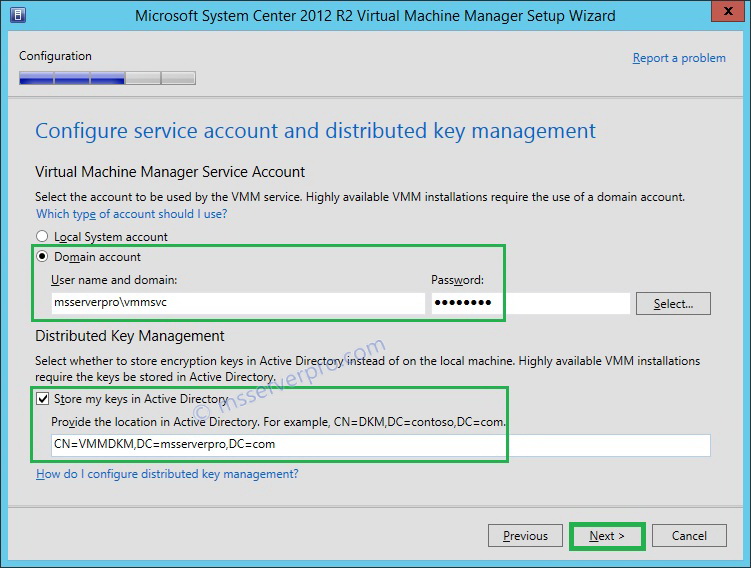
- On the Configure service account and distributed key management page, in the User name and domain field, type msserverpro\vmmsvc , and in the Password: field, type P@ssw0rd. In the Distributed Key Management section, select Store my keys in Active Directory check box, type CN=VMMDKM,DC=msserverpro,DC=com and then click Next.
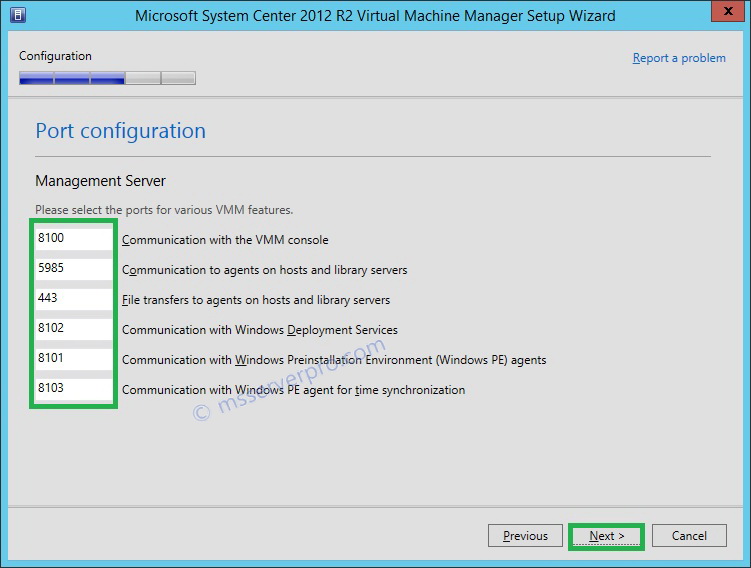
- On the Port configuration page, do not make any changes and then click Next.
- On the Library configuration page, select the Create a new library share and change the default Share location path to D:\MSSCVMMLibrary and then click Next.
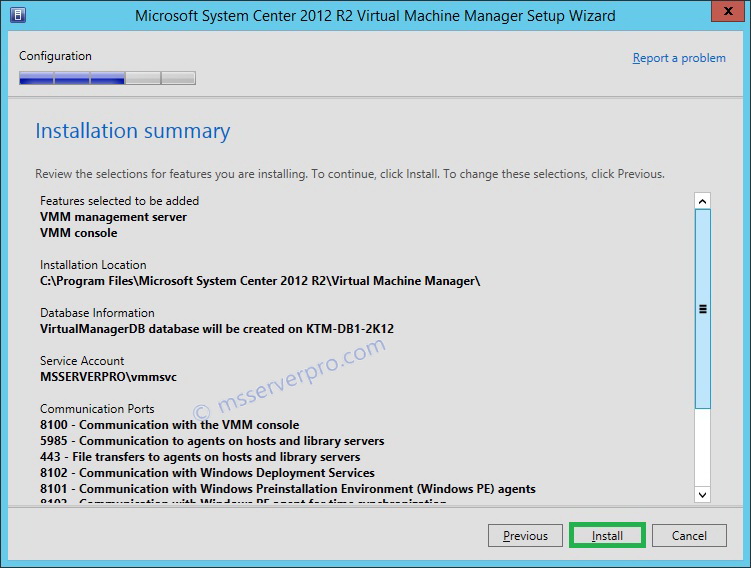
- In the Installation summary page, review the text and then click Install.
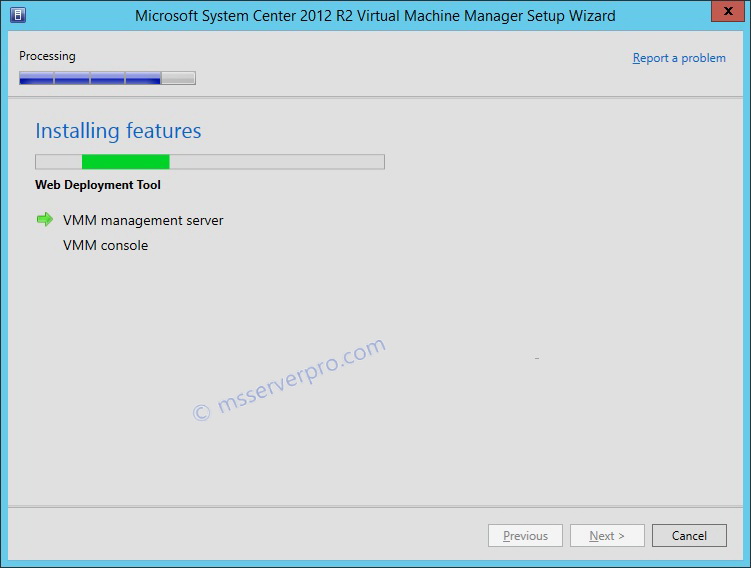
- The Installing features will now run for several minutes.
- On the Setup completed successfully page, click Close.
- On the Desktop, click the Virtual Machine Manager Console icon. In the Connect to Server pop-up window, verify that the Server name field is set to localhost:8100 and select Use current Microsoft Windows session identity and then click Connect.
- Wait for the Virtual Machine Manager console to open.


Comentarios
Publicar un comentario
Dime si la información de este blog te sirvio.