Configuring WSUS 3.0 SP2 on Windows Server
Thanks to: http://prajwaldesai.com/
Configuring WSUS 3.0 SP2 on Windows Server :- In the previous post we saw the installation of WSUS 3.0 SP2 on Windows Server 2008 R2. In this post we will configure the WSUS 3.0 SP2 and will look at various features of WSUS and ways to configure them.
On completing the WSUS setup, the WSUS configuration Wizard is launched. Click Next.

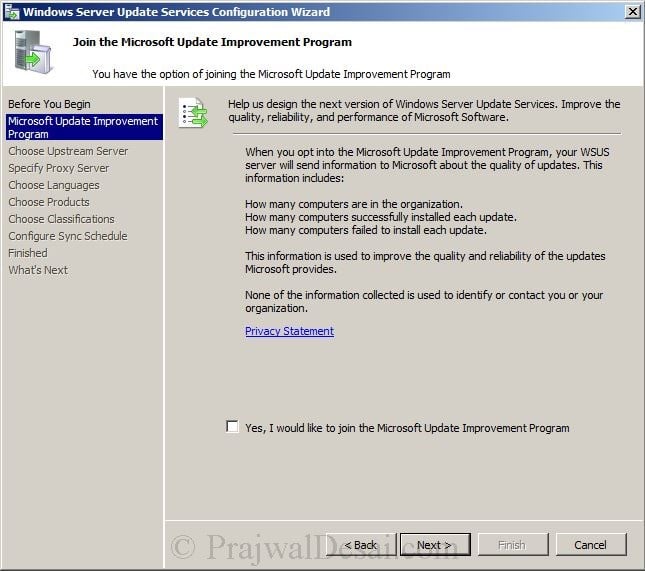
If you would like to join Microsoft Update Improvement Program, check the box and click next.
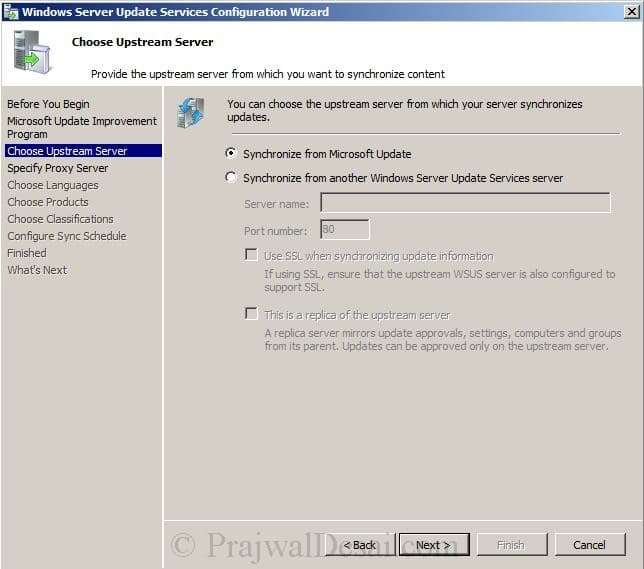
Select the first option if you want to synchronize from Microsoft Update. In case you have a WSUS server existing in your enviroment, choose the second option Synchronize from another WSUS server providing the server name and port number. We will be going with first option here. Click Next.
We have not configured any Proxy server so leave this page to default and click Next.

Click on Start Connecting. In this step the WSUS server synchronizes and collects the types of updates available, product categories and languages. It takes around 4-5 minutes to complete this step. Once completed, click Next.

Choose the language as English. Click Next.

In the Choose products page, we will choose windows 7 as the client that we have is installed with Windows 7. Click Next.

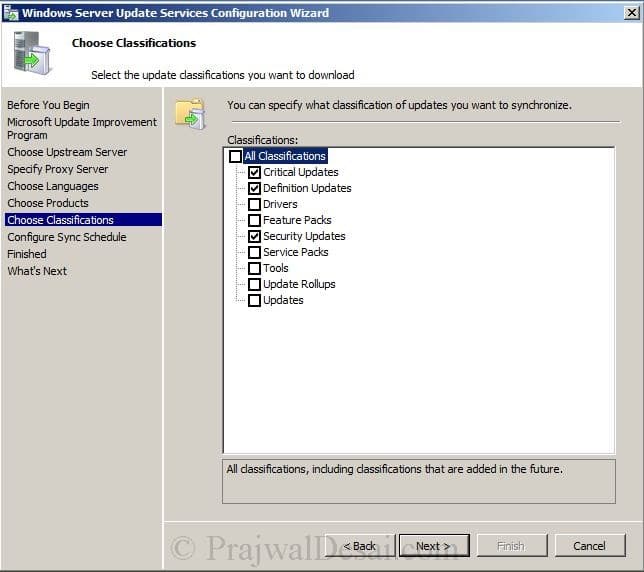
In the Choose Classifications page we will choose Critical Updates, Security Updates, Definition Updates. click Next.
Set Sync Schedule to Synchronize automatically, set the time for First Synchronization. Select Synchronizations per day to “1″. This means the Synchronization happens automatically at 2:00 PM everyday. Click Next.

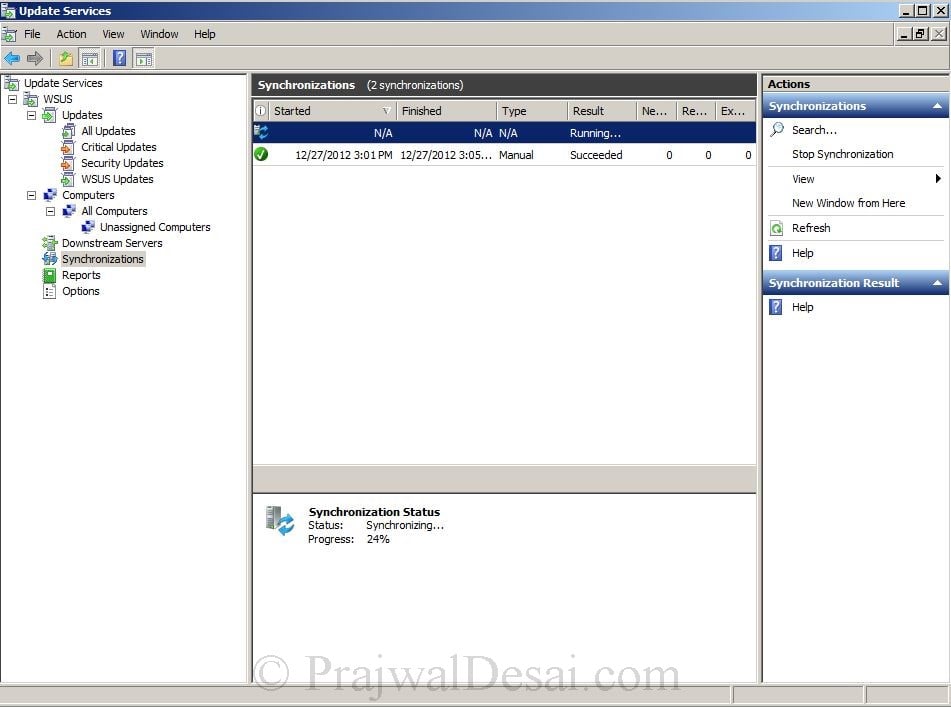
click on Next. This will launch the WSUS administrator console and will begin the initial synchronization.

As of now we see from the WSUS console that updates are being synchronized.
We will now configure Automatic Approval Rule, with this the updates would be approved, downloaded and installed on the client computers.
Note : Be careful while you create and deploy the Automatic Approval rule. Once created and run the rule, the selected updates will be installed automatically on the client machines. It is recommended that you have a separate set of clients for testing the updates first and then deploy the updates to client machines that are in production.
On the WSUS Console, click on Options, click Automatic Approvals.
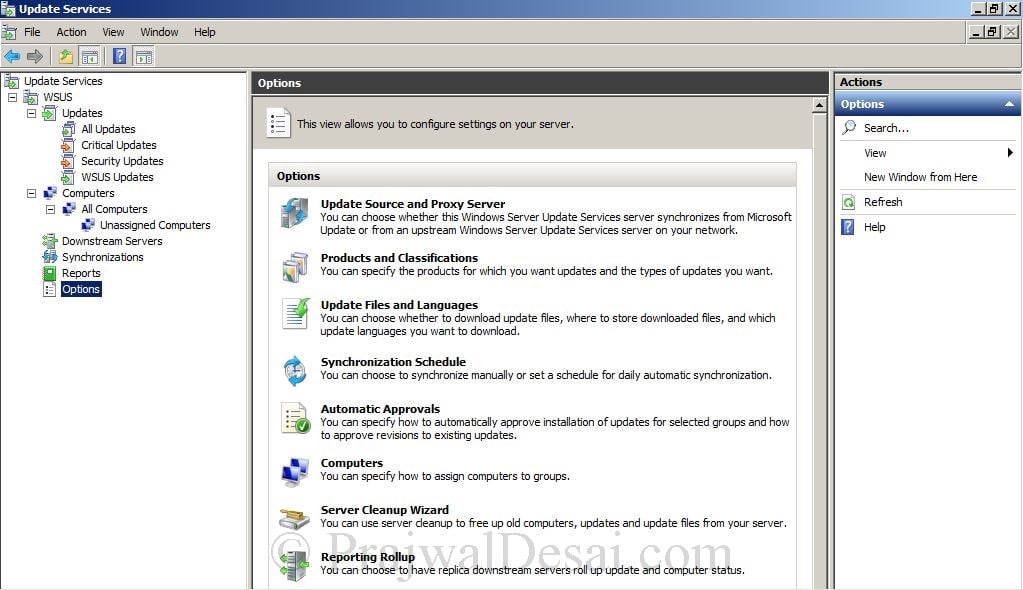
Check the Default Automatic Approval Rule. Lets look at Rule Properties. When an update is in Critical updates, Security Updates then approve the update for all computers.

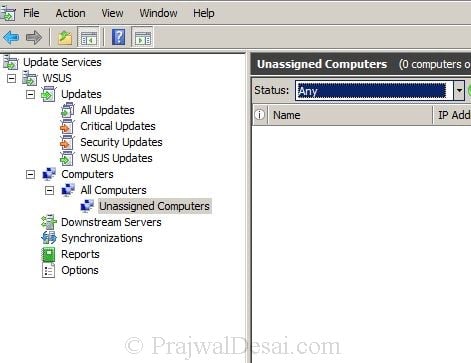
By default all the computers that are discovered are placed under All computers, Unassigned Computers.
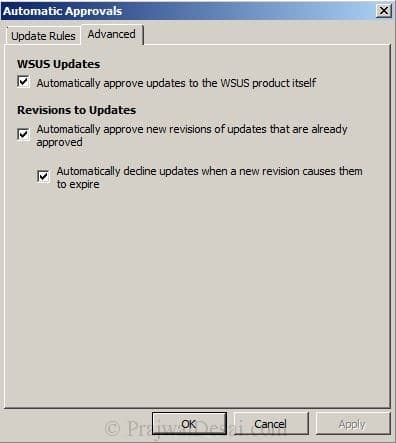
Click on Automatic Approvals, click Advanced Tab. We see that all the options are enabled here. Lets understand what they are
WSUS Updates :- Any updates to WSUS product is approved automatically.
Revisions to Updates :- If an approved update has a new revision then the update is approved automatically. If the new revision of an update is causing old version update to expire, its declined automatically.
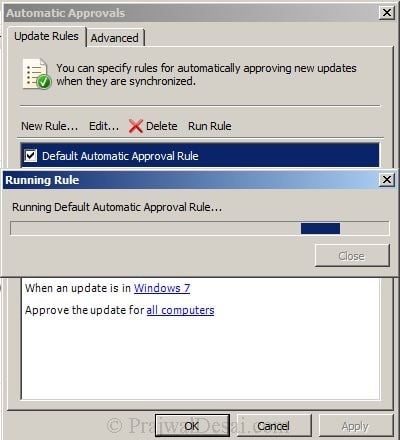
On the Automatic Approval window, select the rule and click Edit. Check the box “When an update is in a specific product” and in the edit the properties section, select the product as Windows 7. The update will be approved for all computers. Click OK.
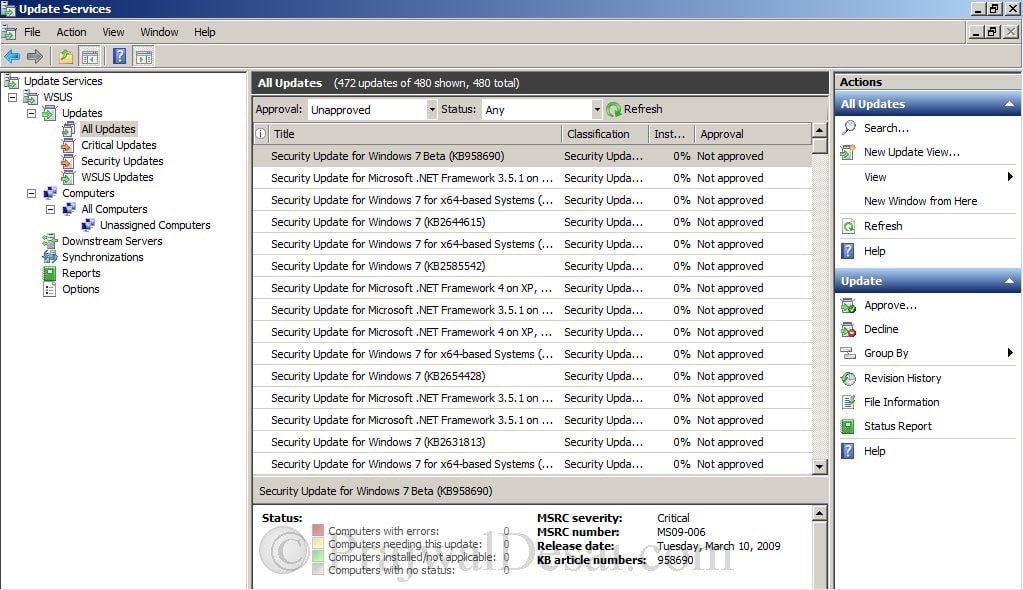
Lets see the Approval status before we run the rule, its clearly shows that All Updates are Not Approved.
Now lets run the default automatic approval rule. Click Run Rule. The Updates will be approved now.
Lets check the WSUS Console for the Approval Status of All Updates. The Approval Status is now Install.

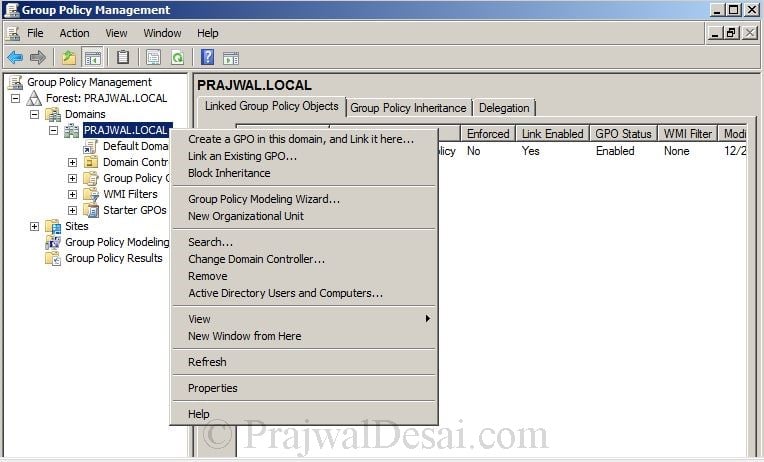
Now we will configure Group policy to deploy the updates to the client machines. Login to Domain Controller with domain administrator account. Click on Start, Administrative tools, Group Policy Management. Right click the domain and clickCreate a GPO in this domain and link it here.
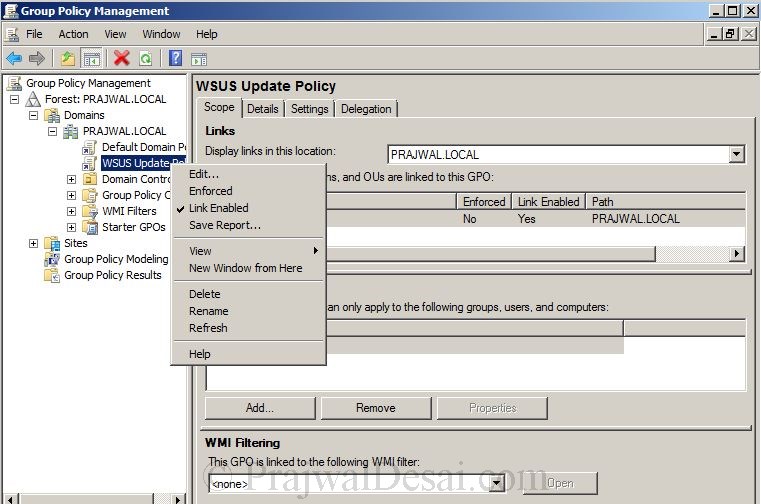
Provide a name to the policy WSUS Update policy and right click and Edit the policy.
Navigate to Computer Configuration, Policies, Administrative Templates, Windows Components, Windows Update.

Double click the policy Specify intranet Microsoft update service location. click Enabled, and under options sethttp://wsus.prajwal.local as the intranet updates service for detecting updates. This way we are forcing the clients to download the windows updates from WSUS server. Click on Apply and OK.

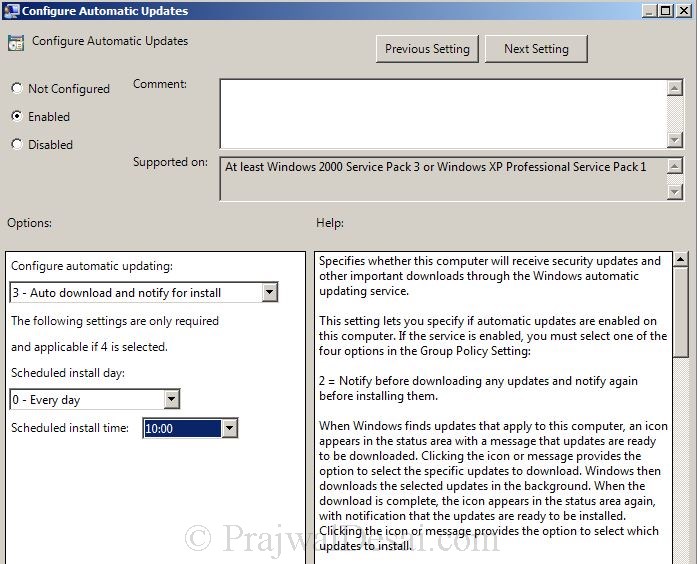
On the same page, click on the policy configure Automatic updates. Under options select the 3-Auto Download and notify for install. Set Schedule Install day as 0- Everyday, set scheduled install time to 10:00. (you can set these options as per your requirement). This means Windows finds updates that apply to your computer and downloads these updates in the background (the user is not notified or interrupted during this process). When the download is complete, the icon appears in the status area, with notification that the updates are ready to be installed. Clicking the icon or message provides the option to select which updates to install. Click Apply and OK. Close the Group policy management console.
After few minutes we can see a windows update notification on client machine, CLIENT.PRAJWAL.LOCAL.

When you double click the windows update icon, we see that 37 important updates are available.

In the next post we will see more about managing the WSUS.


Comentarios
Publicar un comentario
Dime si la información de este blog te sirvio.