Move Exchange database to another drive
Thank to: https://www.alitajran.com/
After renaming the Exchange database, we like to move the Exchange database to another drive. Good to know is that we can only move the Exchange database path to another drive with PowerShell. It’s not possible to do it in the Exchange Admin Center. In this article, you will learn how to move the Exchange database to another drive.
Table of contents
Before moving Exchange mailbox database to another drive
Before moving the database to another drive, we recommend configuring the volumes as ReFS in Exchange. After that, move the database and logs to the created ReFS volumes.
- Standalone Exchange Server
If the Exchange Server is a standalone server. Configure two separate disks. One disk is for the database, and the other disk is for the database logs.
- Exchange Server DAG
If the Exchange Server is going to be a member of a DAG, configuring two disks is not required. We can have the database and logs on the same disk or separately.
Note: For recoverability, move the database (.edb) file and logs from the same database to different volumes backed by different physical disks.
Read more: Exchange database best practices »
Get Exchange mailbox database path
Run Exchange Management Shell as administrator. Let’s get the Exchange mailbox database path and run the Get-MailboxDatabase cmdlet.
We already did rename the mailbox database name to DB01. That’s because we recommend having an easy-to-read mailbox database naming convention.
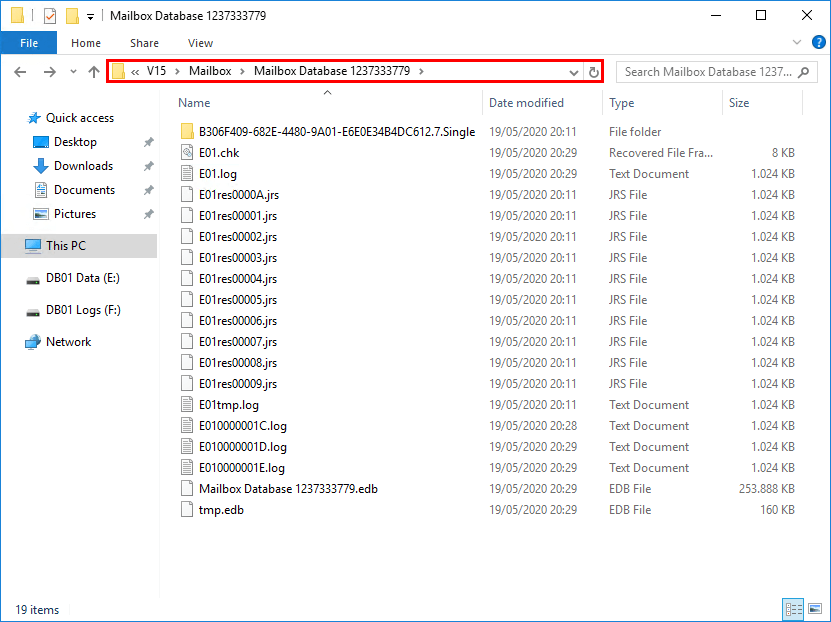
However, the .edb file (database) and log folder still have the unique generated name. Therefore, we will configure the name when we move both the database and log folder to another drive.
Move Exchange mailbox database to another drive
We will place the database file and logs from the same mailbox database to different volumes. The volumes are configured on both different physical disks. The (E:) drive is the database disk, and the (F:) drive is the logs disk.

Run the Move-DatabasePath cmdlet and fill in the values for each parameter:
- EdbFilePath: Specifies a new file path for the database. All current database files are moved to this location.
- LogFolderPath: Specifies the folder where log files are stored.
After running the command, confirm both times with Y and press Enter.
Important: The database will dismount, and the files will move to the new location. After the files finish moving, the database is mounted. Everything will happen automatically. The time of the operation depends on how much data there is to move. The users configured in the mailbox database will have no access to their email. It’s recommended to do this after business hours.
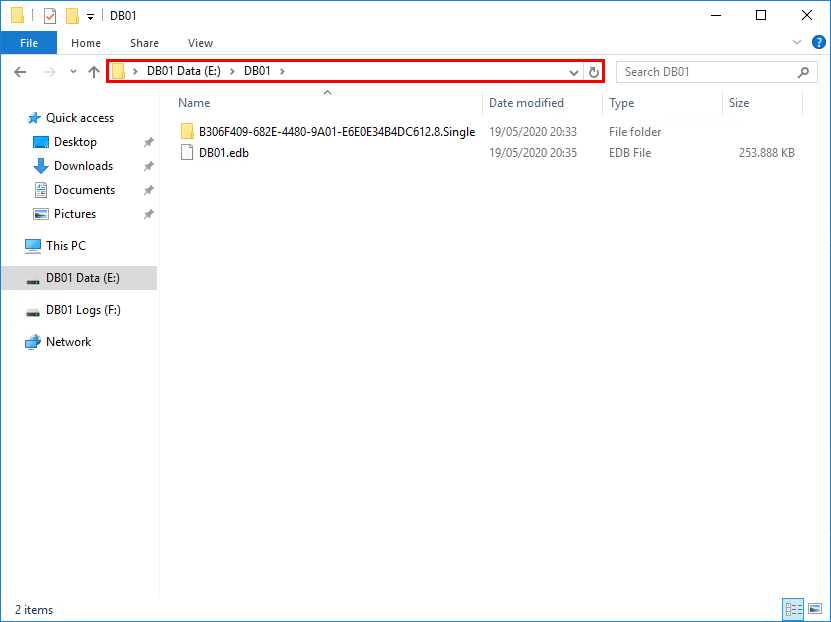
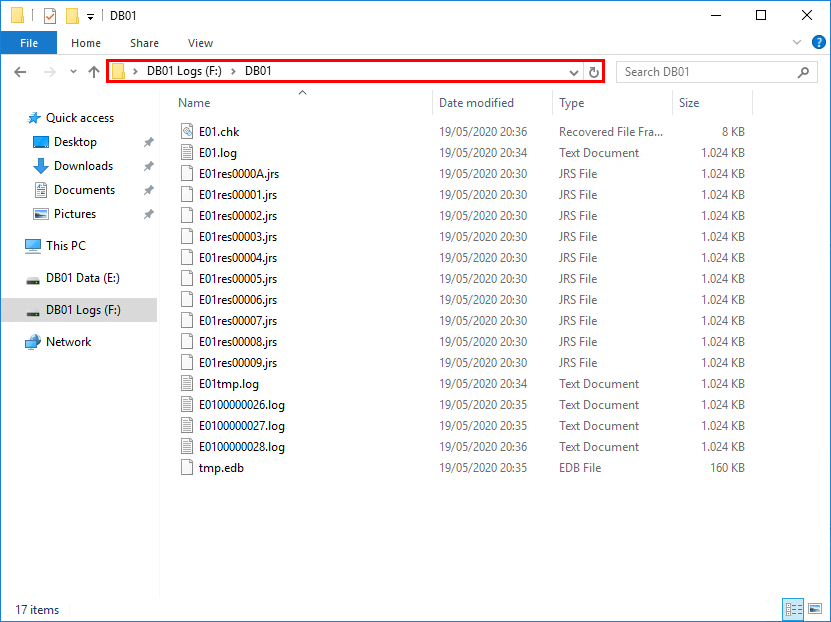
Let’s check if the folders are created, and if the files have moved to each disk.
Results after moving Exchange database to another drive
The database file is renamed and shown in the new disk volume, including the content index folder. The content index files are located in the same path as the database EDB file, in a sub-folder named with a GUID.

The database logs are moved to the new disk volume.

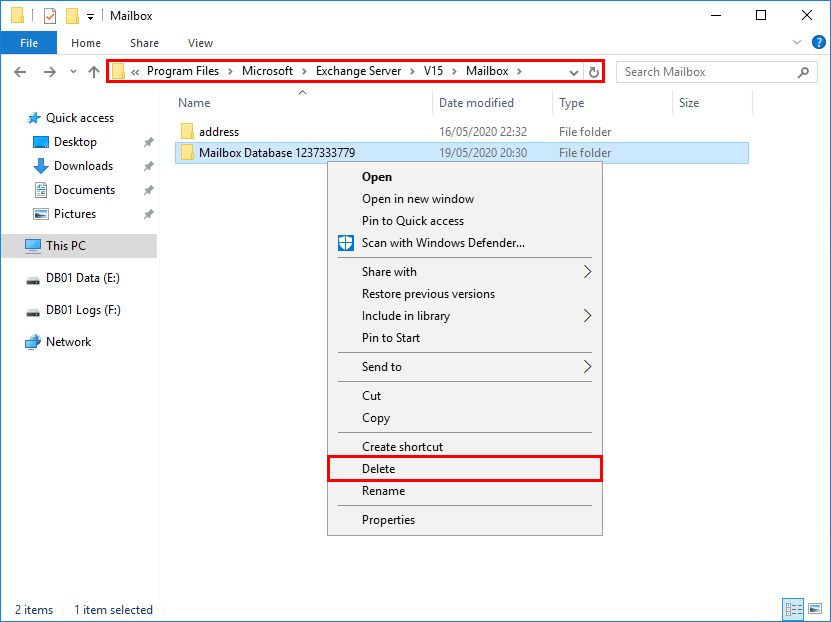
To clean up the old database folder, browse the old database path. Then, right-click the folder and click delete.

If you get a warning that the folder or file is in use, restart the following services in PowerShell. After that, you can delete the folder.
Verify the results with PowerShell.
That’s it!

Comentarios
Publicar un comentario
Dime si la información de este blog te sirvio.