Step by Step Installation Of Lync Server 2013 Standard Edition Part 4 – Installing Lync Server 2013.
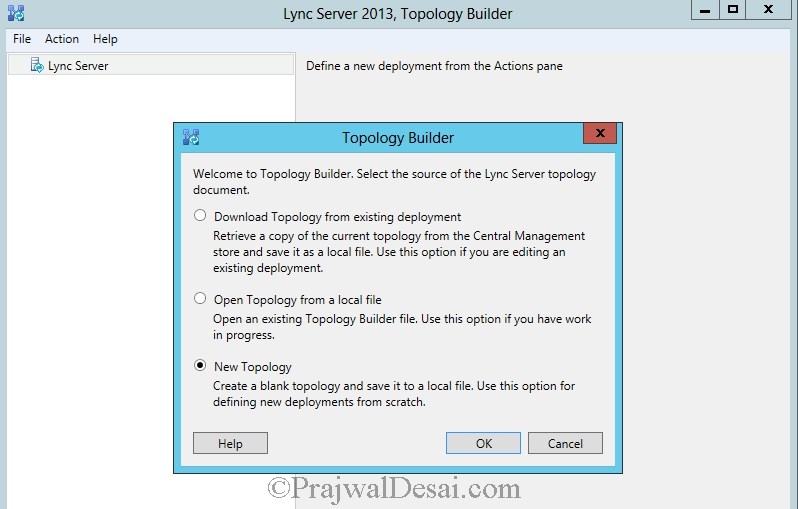
Before we Install Lync Server System, we need to create a Topology, define the topology, and publish it. To create a new topology, click on start and and launch Lync Server Topology
Builder. Select New Topology.
Builder. Select New Topology.
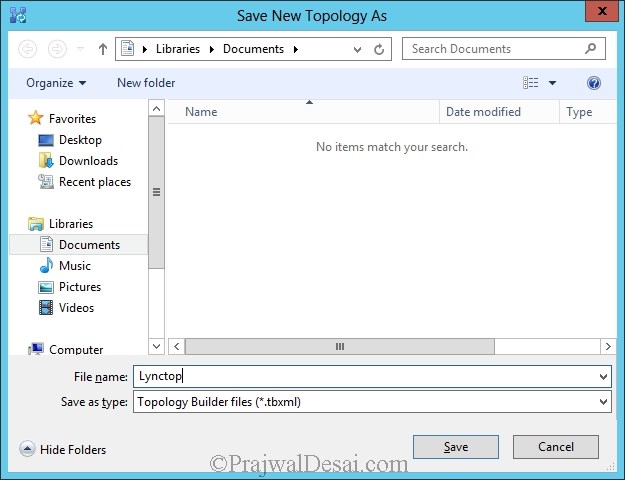
We will create a blank topology and save it with name LyncTop.tbxml.
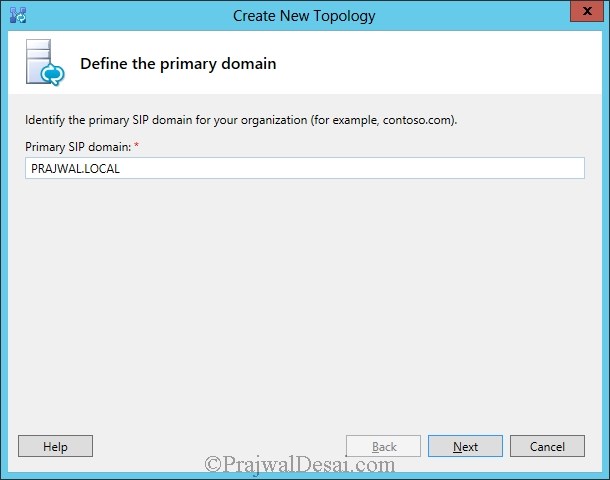
Provide the Primary SIP domain. In our case its PRAJWAL.LOCAL. click Next.
There are no additional SIP domains in our lab scenario, click Next.

Provide a name to the first site. Click Next.

We will leave it empty and we can add these later. Click Next.

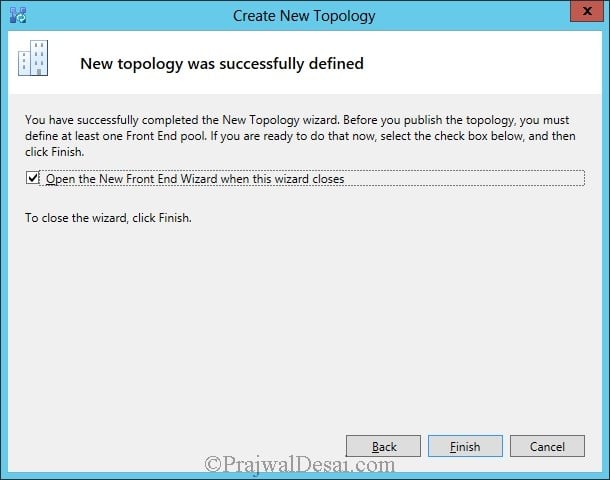
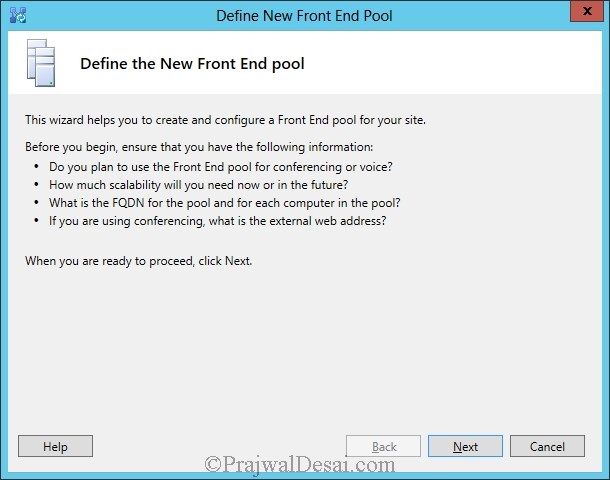
The Topology has been defined successfully.Click Finish to open the NewFront End Wizard.
Click Next.
Select Standard Edition Server and specify the FQDN as FE.PRAJWAL.LOCAL. Click Next.

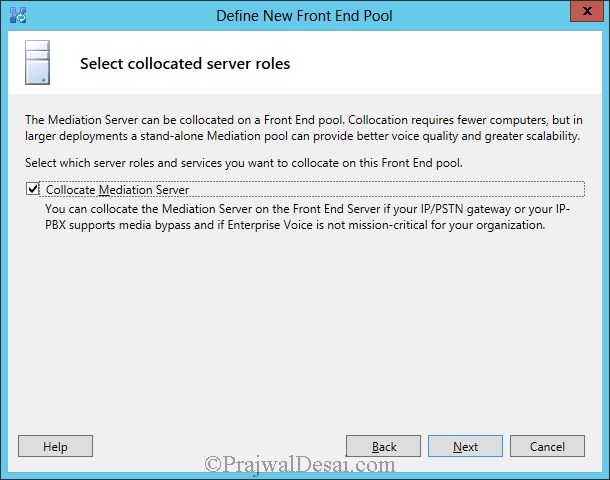
Select Conferencing, Enterprise Voice and call admission control. Click Next.

Click Next.
We are not setting up any edge server so leave it unchecked and click Next.

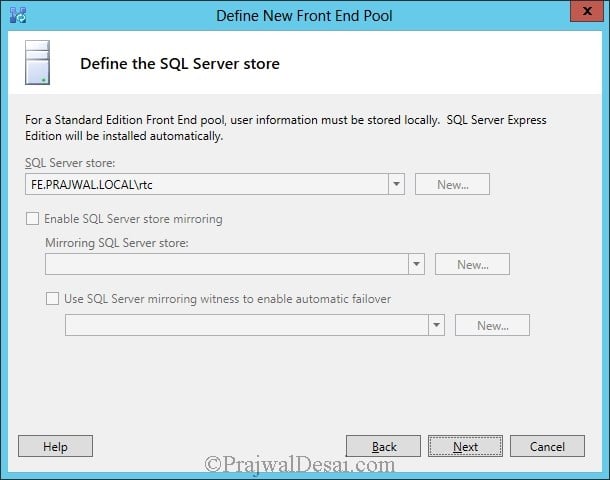
The SQL Server Express edition is installed with an instance named rtc. Click next.
Select Define a new file store. The file server FQDN will be FE.PRAJWAL.LOCAL. Create a new folder on the server FE.PRAJWAL.LOCAL, share the folder for Everyone and specify the name of the shared folder in the File Share. Click Next.

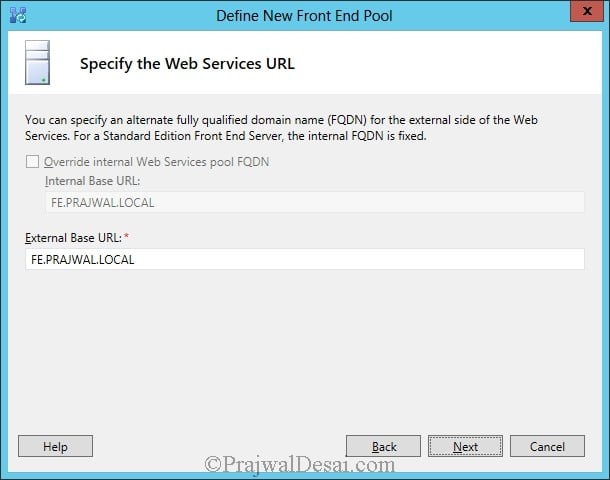
Click Next.
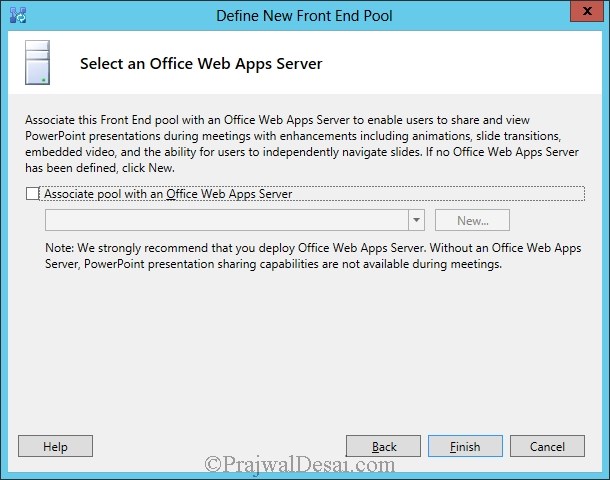
We will not associate the pool with Office WebApp Sever. Uncheck the option and click Finish.
In the Topology Builder, right click Lync Server and Click Edit properties.

We will add the admin URL as https://admin.prajwal.local under Administrative Access URL and For Front End Server to install CMS on, Select Front End Server (FE.PRAJWAL.LOCAL). Click OK.

We will now Publish the topology. To do so right click Lync Server and click Publish Topology.

Click Next.
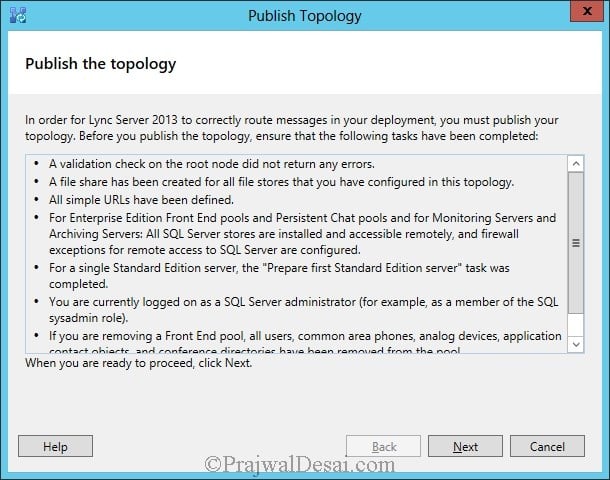
Select the Front End Server and click Next.

The topology has been published. Click Finish.

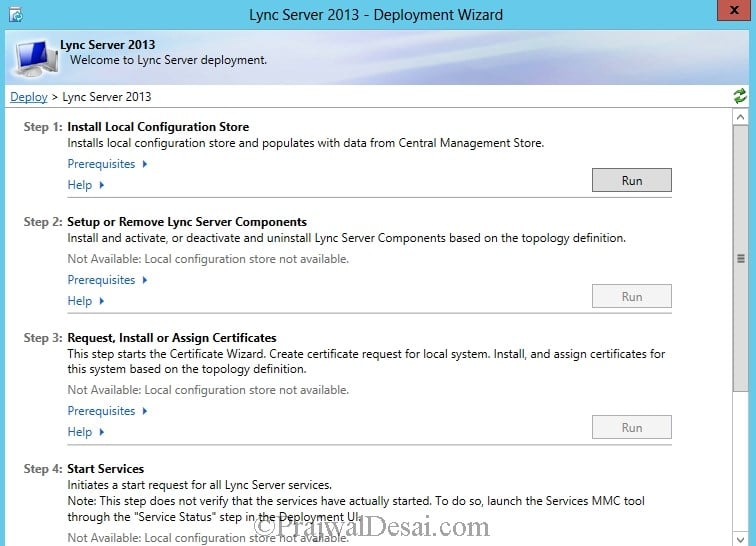
Open the Lync Deployment Wizard and Click Install or Update Lync Server System.

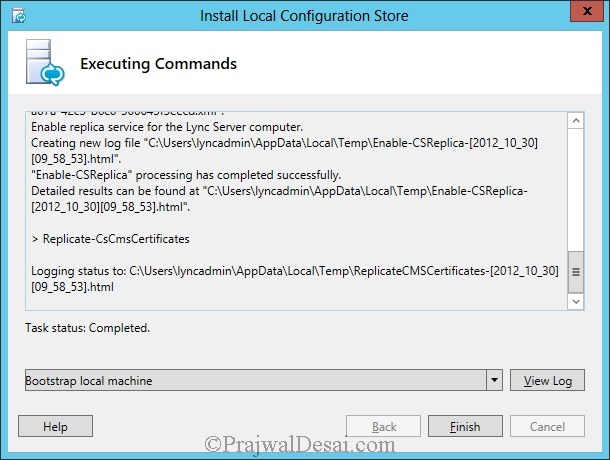
First Step is the installation of Local Configuration Store. click Run.
Choose retrieve directly from CMS. Click Next.

The Local Configuration Store has been installed. Click Finish.
Step 2 – Setup or remove Lync Server Components, this would install the Lync Components defined in the topology. Click Run. On the Set up Lync Server Components Wizard, Click Next.
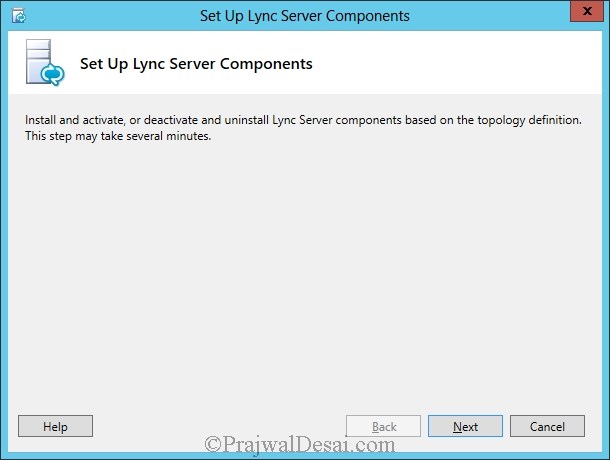
The Lync Server Components have been installed. Click Finish.

Step 3 – Request, Install or Assign Certificates – This step starts the Certificate Wizard, which will create Certificate request for the local system, request the certificate from CA and install it
based on the topology definition. Select Default Certificate and Click Request.
based on the topology definition. Select Default Certificate and Click Request.

Click next.

In Part 1 we had installed CA on the Domain Controller, so we will choose the First option, Send the request immediately to Online CA. Click Next.
Note : If you are selecting the second option, Offline Certificate request, then you will have to create a cert request, submit it to the CA and download the cert. From the Lync Certifcate request wizard you will have to import the cert and then assign it.

The CA is Automatically Selected. Click Next.

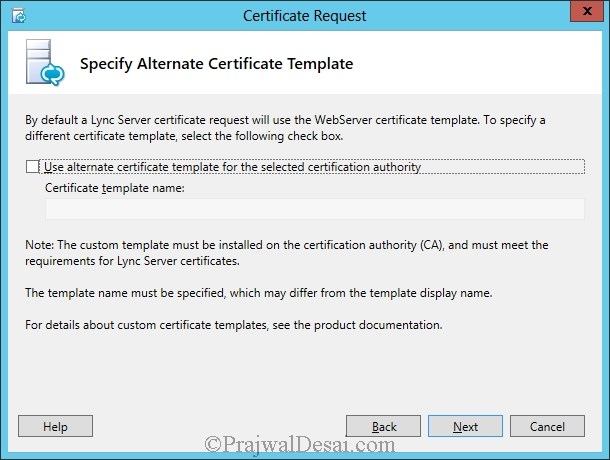
Click Next.

Click Next.
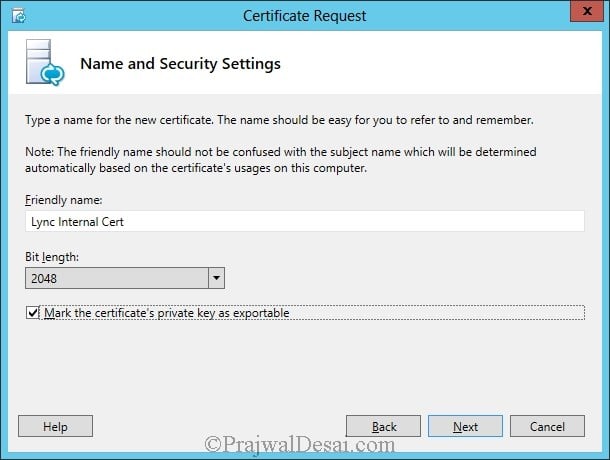
Provide a Friendly Name to the cert Lync Internal Cert and select Bit Length as 2048. Check the box “mark the certificate’s private key as exportable“. Click Next.
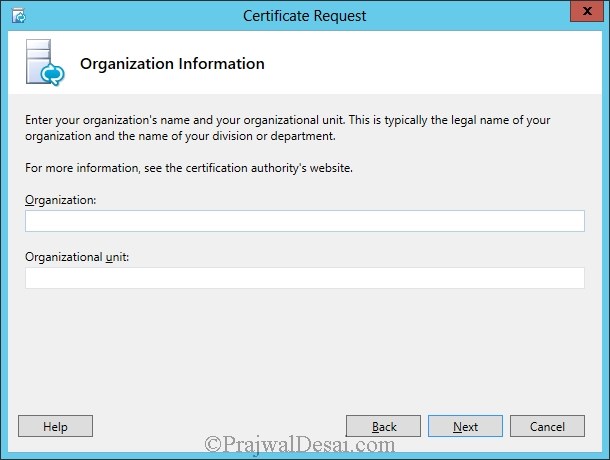
You can mention the organization name and Unit. I will leave it to blank. Click Next.
Click Next.

We see that Subject Name is FE.PRAJWAL.LOCAL and SAN names are picked up automatically.
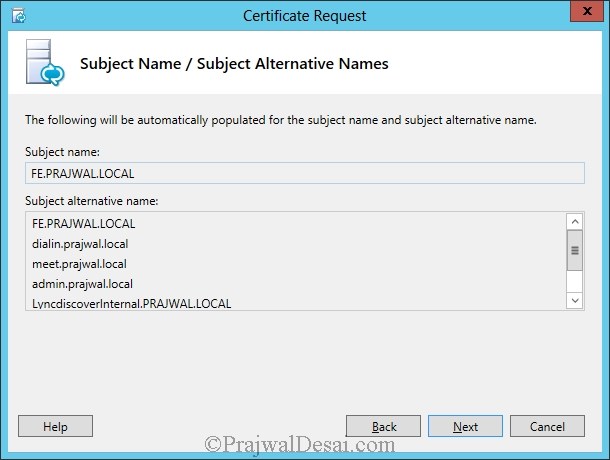
Under Configured SIP domains, select PRAJWAL.LOCAL. Click Next.

If you have any additional SAN names, you can add it here. Click Next.

Click Next.

Click Finish.
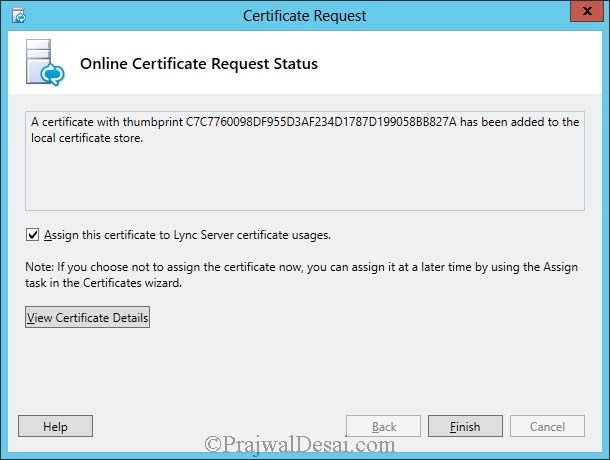
On the Certificate Assignment wizard, click on View Certificate Details. Take a look at the cert and SAN names. Click OK to close the certificate and Click Next.

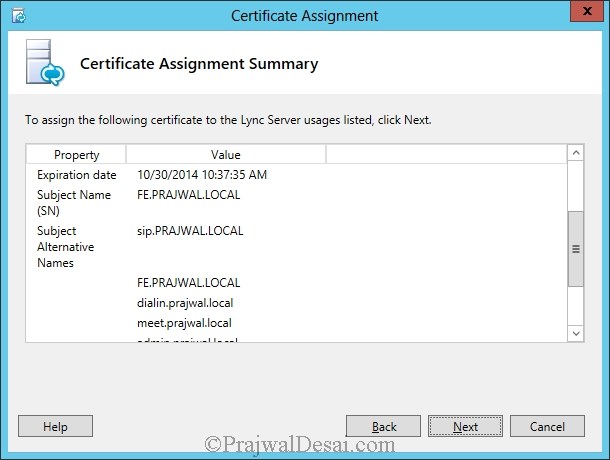
Certificate Assignment Summary. Click Next.
Click Finish to Assign the Certificate.

The Lync internal Cert has been assigned to FE.PRAJWAL.LOCAL. Click Close.

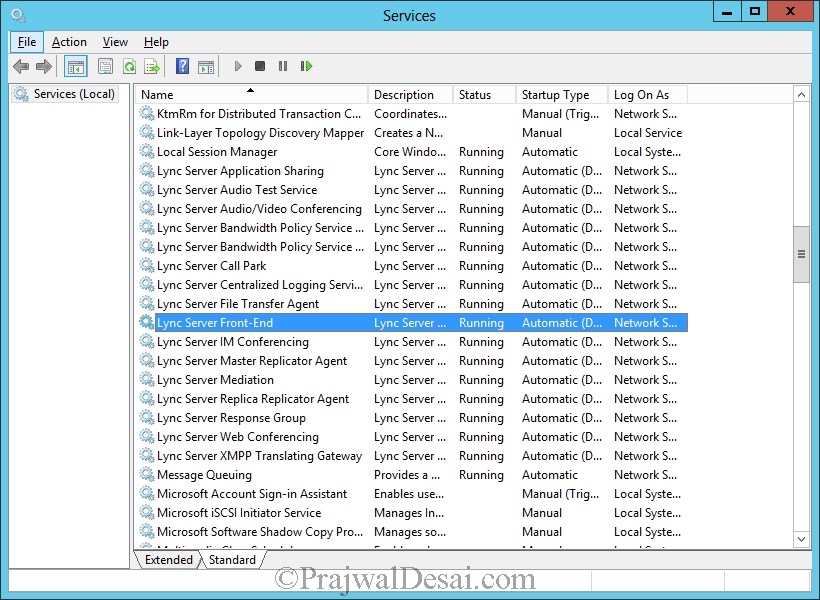
Now we need to verify whether all the Lync Services are running or not. Open Services.msc, Make sure that all the Lync Server Services are running.
The last step is to check Lync Server Updates. Make sure that windows automatic updating is enabled. Check for Lync updates, download and install them. Click on Exit to close the Deployment wizard.


Comentarios
Publicar un comentario
Dime si la información de este blog te sirvio.